Monday, July 28, 2014

Making a card #2 video

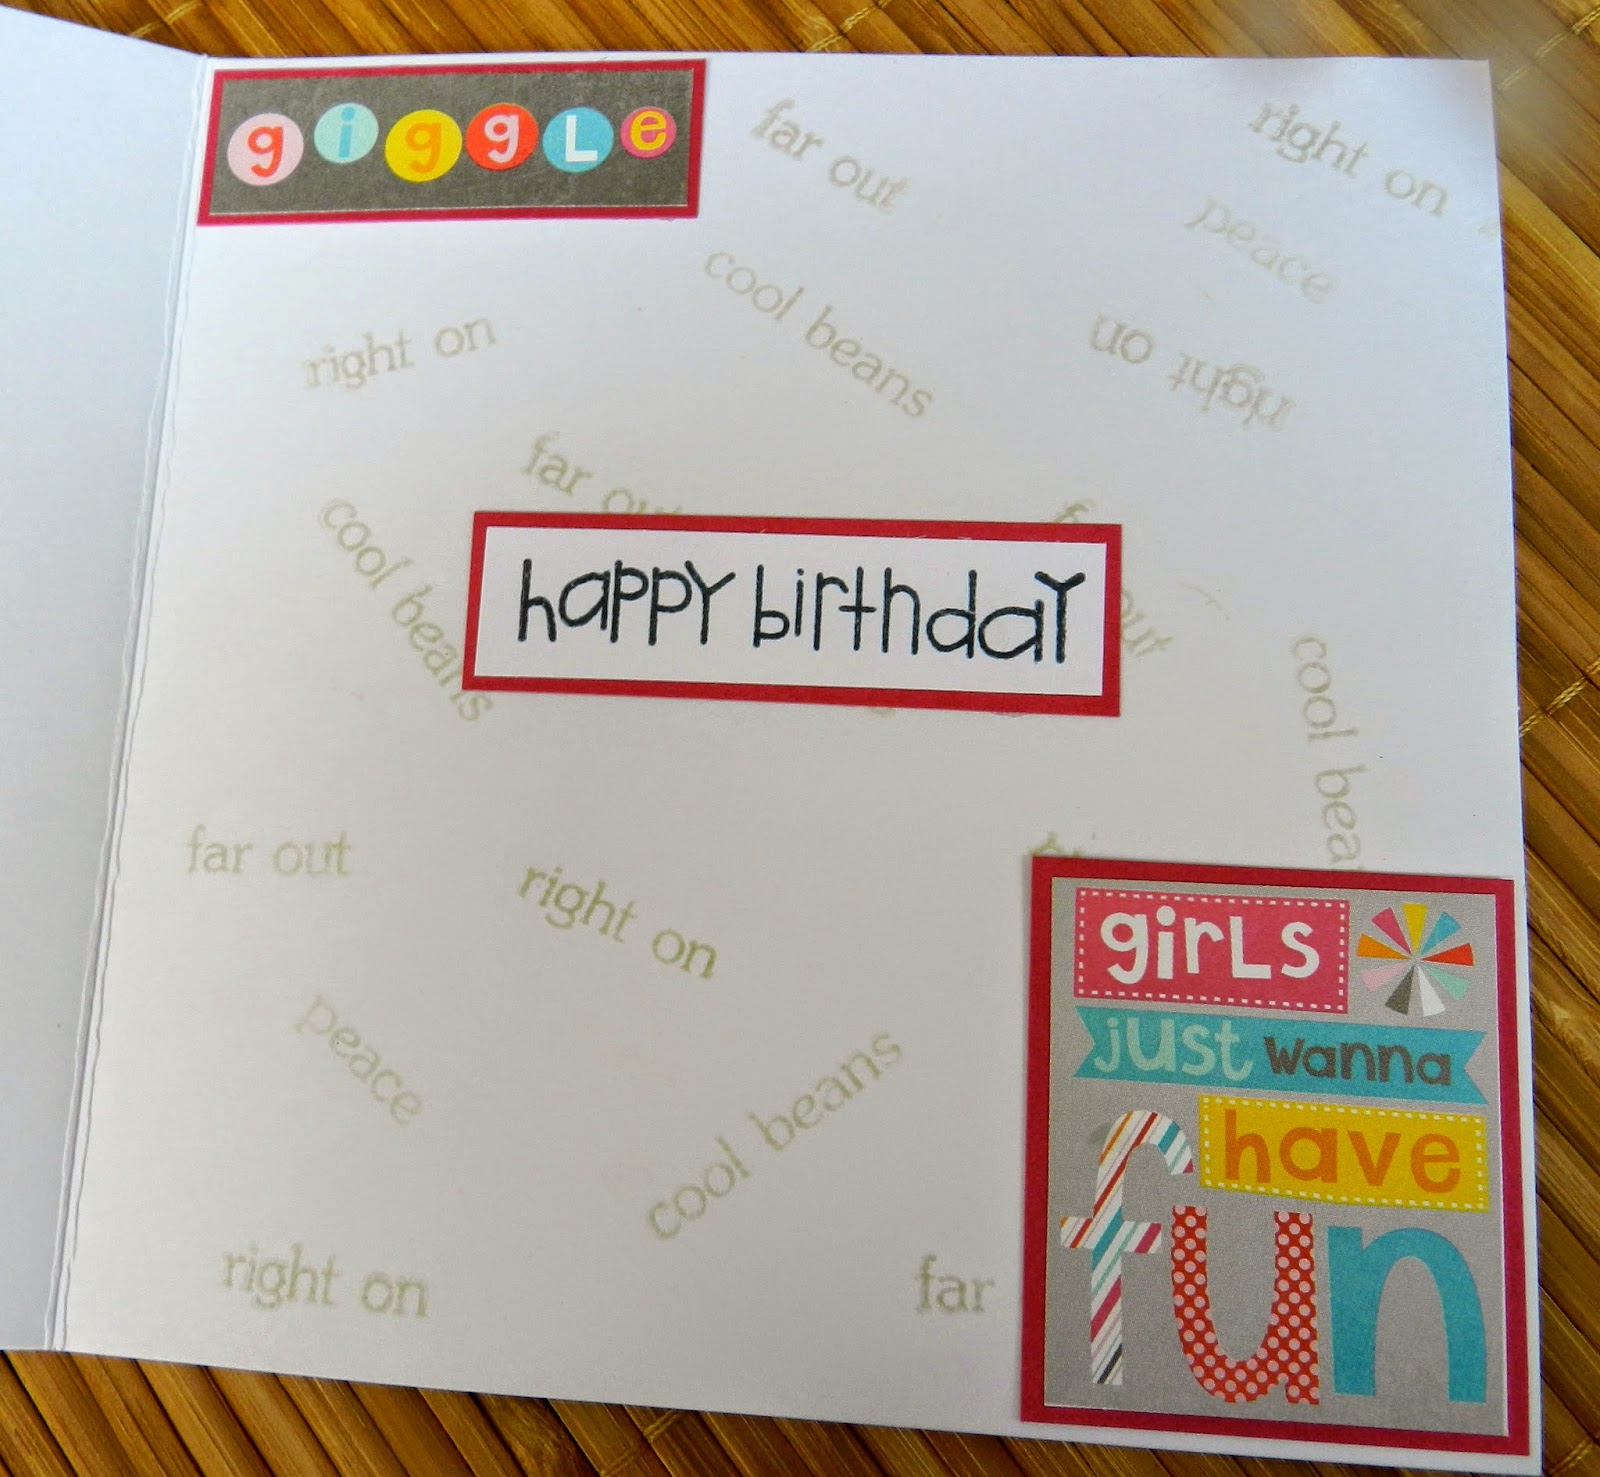
Well I did it again!!! I made another video of a card I designed. It's for a friend's daughter for her 11th birthday! I had the stamp set for a while now and finally figured out who to use it for! Check out the video below , I hope you enjoy it!


Supplies Used:
Copic Sketch Markers
Bazill cardstock in Berry Sensation
MME "Hey Girl" 6x6 paper pad
Ribbon from my stash
Bow easy
Stickles in Crystal
Glossy Accents
3-in1 glue by Beacon
3D foam squares by Therm.o.web
Memento Ink in Tuxedo black
MFT Hybrid ink in Natural
stamp set Doodle Garden Far out set by MFT
rhinestones from my stash
Die-namics Oval Stax I by MFT
Die-namics Rectangle Stax II BY MFT
Die-namics Fish Flags Layer Stax by MFT
Labels 29 by Spellbinders
pre-made 5 1/2" square card

Chat soon!
Cheri

Tuesday, July 22, 2014

My First Youtube Video wohoooo!

Well I finally got my video all figured out and uploaded. It turned out not bad for a first attempt. It's on how to make a book card. Have a peek and let me know what you think!!


Chat at you later,
Cheri

Swinging Bye To Say Hi!


I have had the stamp for a while and was dying to get it out and create a card with it. It was so much fun creating all the layers with my die cuts and I absolutely love the stamp! I coloured the stamped image once again with my Copic Sketch markers onto Copic paper and "fussy" cut out the image. Then came the fun part of designing the background. The "grass" paper is called "pretty please" from the Neapolitan Collection by Dear Lizzy. I used my Die-namics "snow drift" die from MFT to make the hills. I edged the grass hills with memento ink in the colour pear tart to make the hills stand out a bit. I cut out the flower border and then layered another cut out of the same die to create the different coloured flowers. Layering the grass over top of the flowers completed the bottom of the card. The cloud paper in the background is from My Mind's Eye 6x6 paper pad called "charm". I cut out a fence and tree from metal dies to complete the top half of the card. I glued everything onto a 6x6" card I made from white cardstock. Using some pop dots I adhered the image to hang from the tree, added a cute sentiment and presto another finished card!

Supplies Used:
White Cardstock
MME "Charm" 6x6 paper pad
"Pretty please" paper by Dear Lizzy Neapolitan Collection
Flower border die by C.C. Designs
Fresh cut grass die-namic by MFT
Tree die by Marianne Designs Creatable LR0257
Roberto Rascals "swingin" stamp from C.C. Dsigns
Snow Drift die-namics by MFT
Copic Sketch Markers
Copic Paper
Yellow stickles
Various green card stock from my stash
glue and pop dots


Guess what????….. I finally filmed a video of me making a "Book Card". I am just in the process of trying to edit it and then hopefully I can figure out how to upload it here and onto you tube. Wish me luck!

Chat at you later,
Cheri

Monday, July 14, 2014

SImon Says Stamp July Kit

I finally had time to get out my July card kit from Simon Says Stamp. It's such a fun kit this month with the theme being "sending happy mail". The papers are from the Pink Paislee "Pen Pal" collection. I can't wait to get my hands on the whole 6x6 designer paper pad. Everyone loves to get "happy mail" instead of bills in their mailbox. 


Supplies used:
Crystal Stickles
Pure Innocence Sending Happy thoughts stamp and die from MFT
Alphabet stickers in black
Memento ink in Paris Dusk
SSS Lipstick Red Ink
Enamel Dots by Basic Grey
Twine
Red ribbon from my stash
Pop dots

I always look forward to getting my monthly card kit from Simon Says Stamp. Today they released a preview of the August card kit on their blog. It's gonna be a super cute one, can't wait!

Chat at you later,
Cheri


Friday, July 11, 2014

Happy Friday Everyone!

It's Friday yahooooo! It's so nice here today and I am so happy that it's Friday. I always look forward to Friday's as it means hubby is home for 2 days and gives me his undivided attention after a long work week! I've got a couple cards to show you that I made this week!

First off……..It's another baby card LOL and a boy one to boot. Is anyone having girls these days? I need to get a new baby stamp because you must be getting sick of seeing the same sort of card from me but it works and the new parent's love it.


Supplies Used:
Copic Sketch Markers
C.C. Designs Baby Boy stamp
Welcome Little Ones Sentiments by AmyR for C.C. Designs
Blue Elephants paper by Recollections
Aqua Screen paper by Recollections
Aqua Dot paper by Recollections
matching card stock from my stash
white ribbon
Crystal Stickles
Memento Ink in Tuxedo Black
Embossing powder in clear by Old Island Stamp Co.
Die-namics Monarch Border by MFT
Teal pigment ink by Color Box
Die-namics Fish Flags layer Stax by MFT
Standard Circles dies by Spellbinder
Gift Card Die by MFT


The next 2 cards I designed for my Nieces. They both live in North Bay which is quite a distance from us. They lost a good friend and Brother-in-law last week and our thoughts and prayers are with them all.  I thought they could use a bug hug and since we couldn't be there we sent them these cards instead.


Supplies used:
Purple cardstock
Memento Ink in Tuxedo Black
ribbon
Copic Sketch Markers
Pure Innocence Sending Big Hugs set with matching die
Crystal Stickles
Die-namics Floral Fusion Cover up Die by MFT
Die-namics Fluttering Hearts by MFT

I hope everyone has a great weekend and that the weather stays nice! Enjoy your time with loved ones and try to relax!
Chat at you later,
Cheri

Tuesday, July 8, 2014

She Art Canvas


First off let me say that I love Christy Tomlinson and all her work from canvas to jewelry. If you don't know her, click on her name to go to her blog. She has online classes, an etsy store, YouTube Channel, Instagram, Facebook, Twitter and an online store called Scarlett Lime. She is just such a sweet caring lady!
 I love Christy's work and have been eyeing all her She Art Girls , following her blog and YouTube channel. First though I took a class by Christy called Behind The ArtIt was full of so much information on how to create the background to a canvas and all the different types of products you can use. She breaks everything down into separate videos and really explains everything in detail and her process on how she creates her canvases. I was glad I took that online class first as it really helped with the She Art class. The She Art Workshop was just as informative and Christy was just as cute and sweet! I wouldn't hesitate to take her online workshops, they are worth the money and Christy is a wonderful teacher.

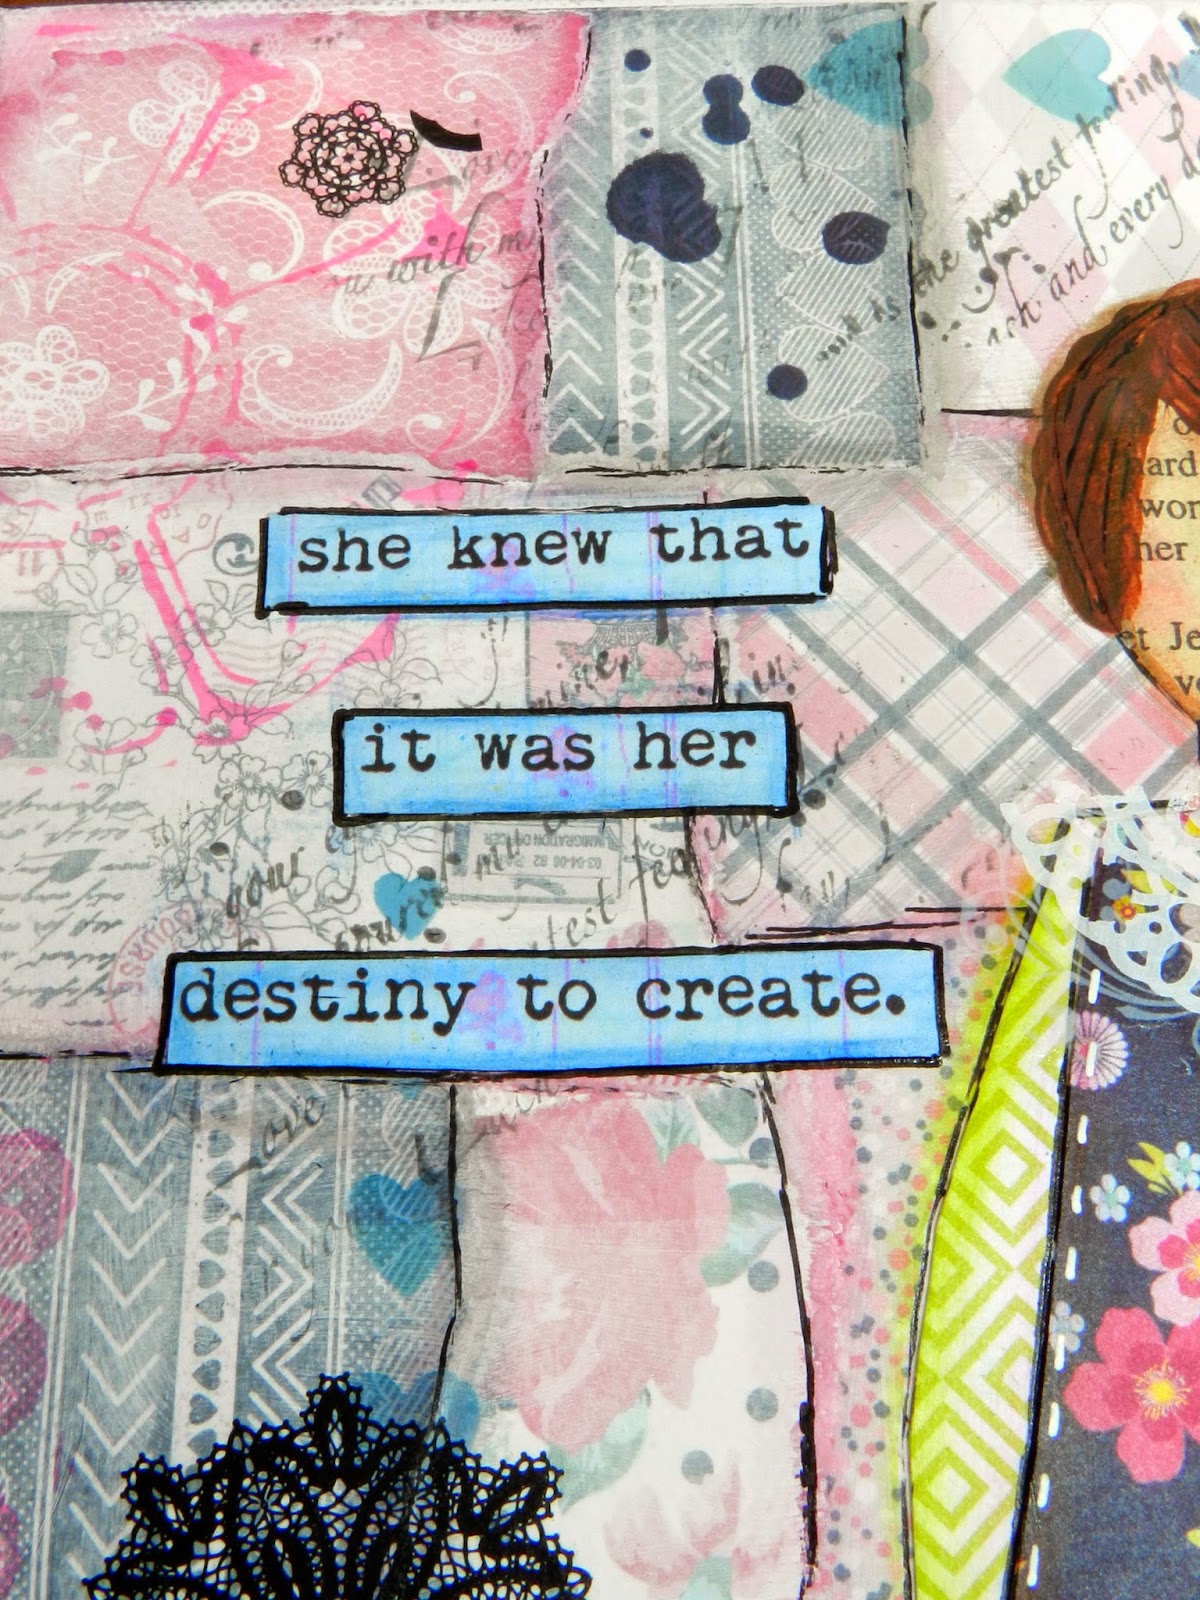
Here's my finished canvas. I think she turned out really cute and I had a blast putting the whole thing together.


I used lots of techniques and products. I started by covering my canvas in Christy's style called "quilt block"with paper from Authentique called Classique Pretty and Decoupage. I then applied a thin layer of watered down white craft paint to tone down the papers. I took my Faber Castell Artist Big Brush pens and shaded the outline of each block in coordinating colours. I also outlined the blocks after shading with a black marker pen. I used various stamps and stencils with Archival Ink by Ranger in different colours. I also took some Modeling paste and added some dimension with a stencil as well. I created my She Art girl and shaded her with the Faber Castell Big Brush pens. Then it was time to add some doily rub ons, lace and a flower in her hair. Christy likes to doodle alot on her canvas's but I was afraid to try that for fear of wrecking my work LOL. I will try next time though  as I think it adds character and more dimension. All in all it was so much fun and it sure brings the creative side out in you!
Chat at you soon,
Cheri

Monday, July 7, 2014

Took a Copic Card Class!

I took a card class at Two Scrapbook Friends a few weeks ago! Joanne taught the class and I must say she is a wonderful teacher, very patient and helpful. I absolutely fell in love with this stamp and die set from MY Favourite Things (MFT) called BB Sunflower Sweetheart by Birdie Brown. We coloured the images with Copics and I love how Joanne keep the papers simple. It makes the stamped images pop more I think! I've ordered it from Joanne's store and can't wait to start creating my own card designs with it. You should swing by and check out Two Scrapbooking Friends!


I'm working on some other projects and I will be posting more updates this week. Hope everyone is doing ok and enjoyed the beautiful weekend we just had!
Chat at ya soon,
Cheri