Showing posts with label Pretty Pink Posh. Show all posts

Sunday, May 24, 2020

Ink Blending Fun!

Hi!
I've been having some fun making ink blended backgrounds using Distress Oxide Inks. They are so fun to play with and blend together so easily!
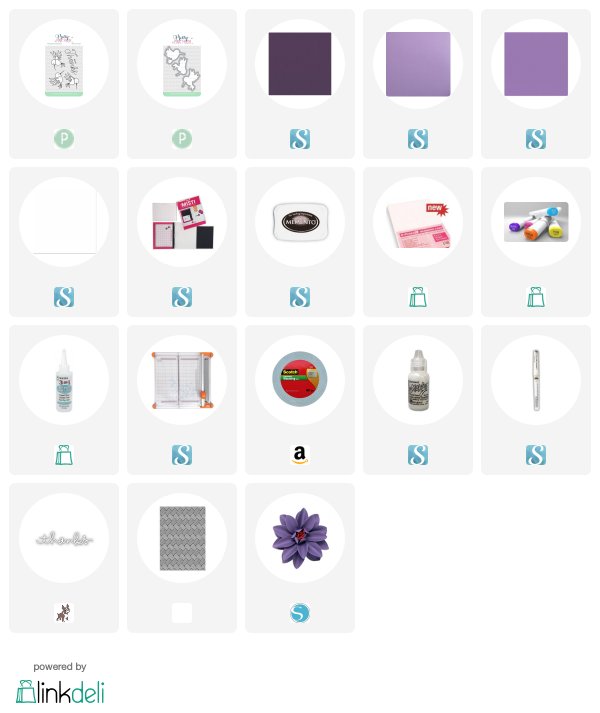
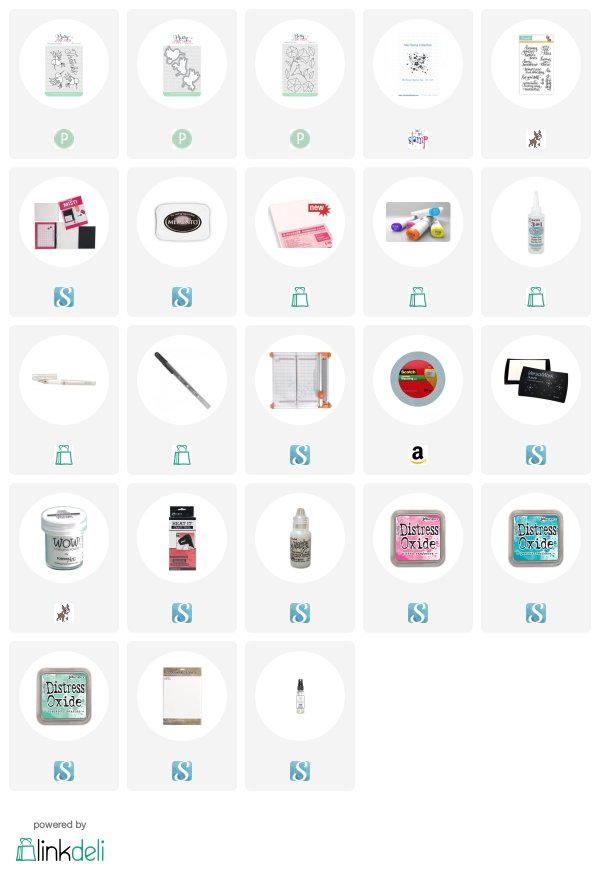
I've been trying to use things I haven't used before from my stash (hoard) and found this beautiful My Favourite Things 6x6" background stamp called "BG Floral Fantasy Background" (retired). I stamped it with embossing ink and then used some Altenew Crystal Clear Crisp Embossing Powder. Once it was heat set, I blended Distress Oxide Ink in Dusty Concord, Seedless Preserves and Wilted Violet to create a coloured background. 
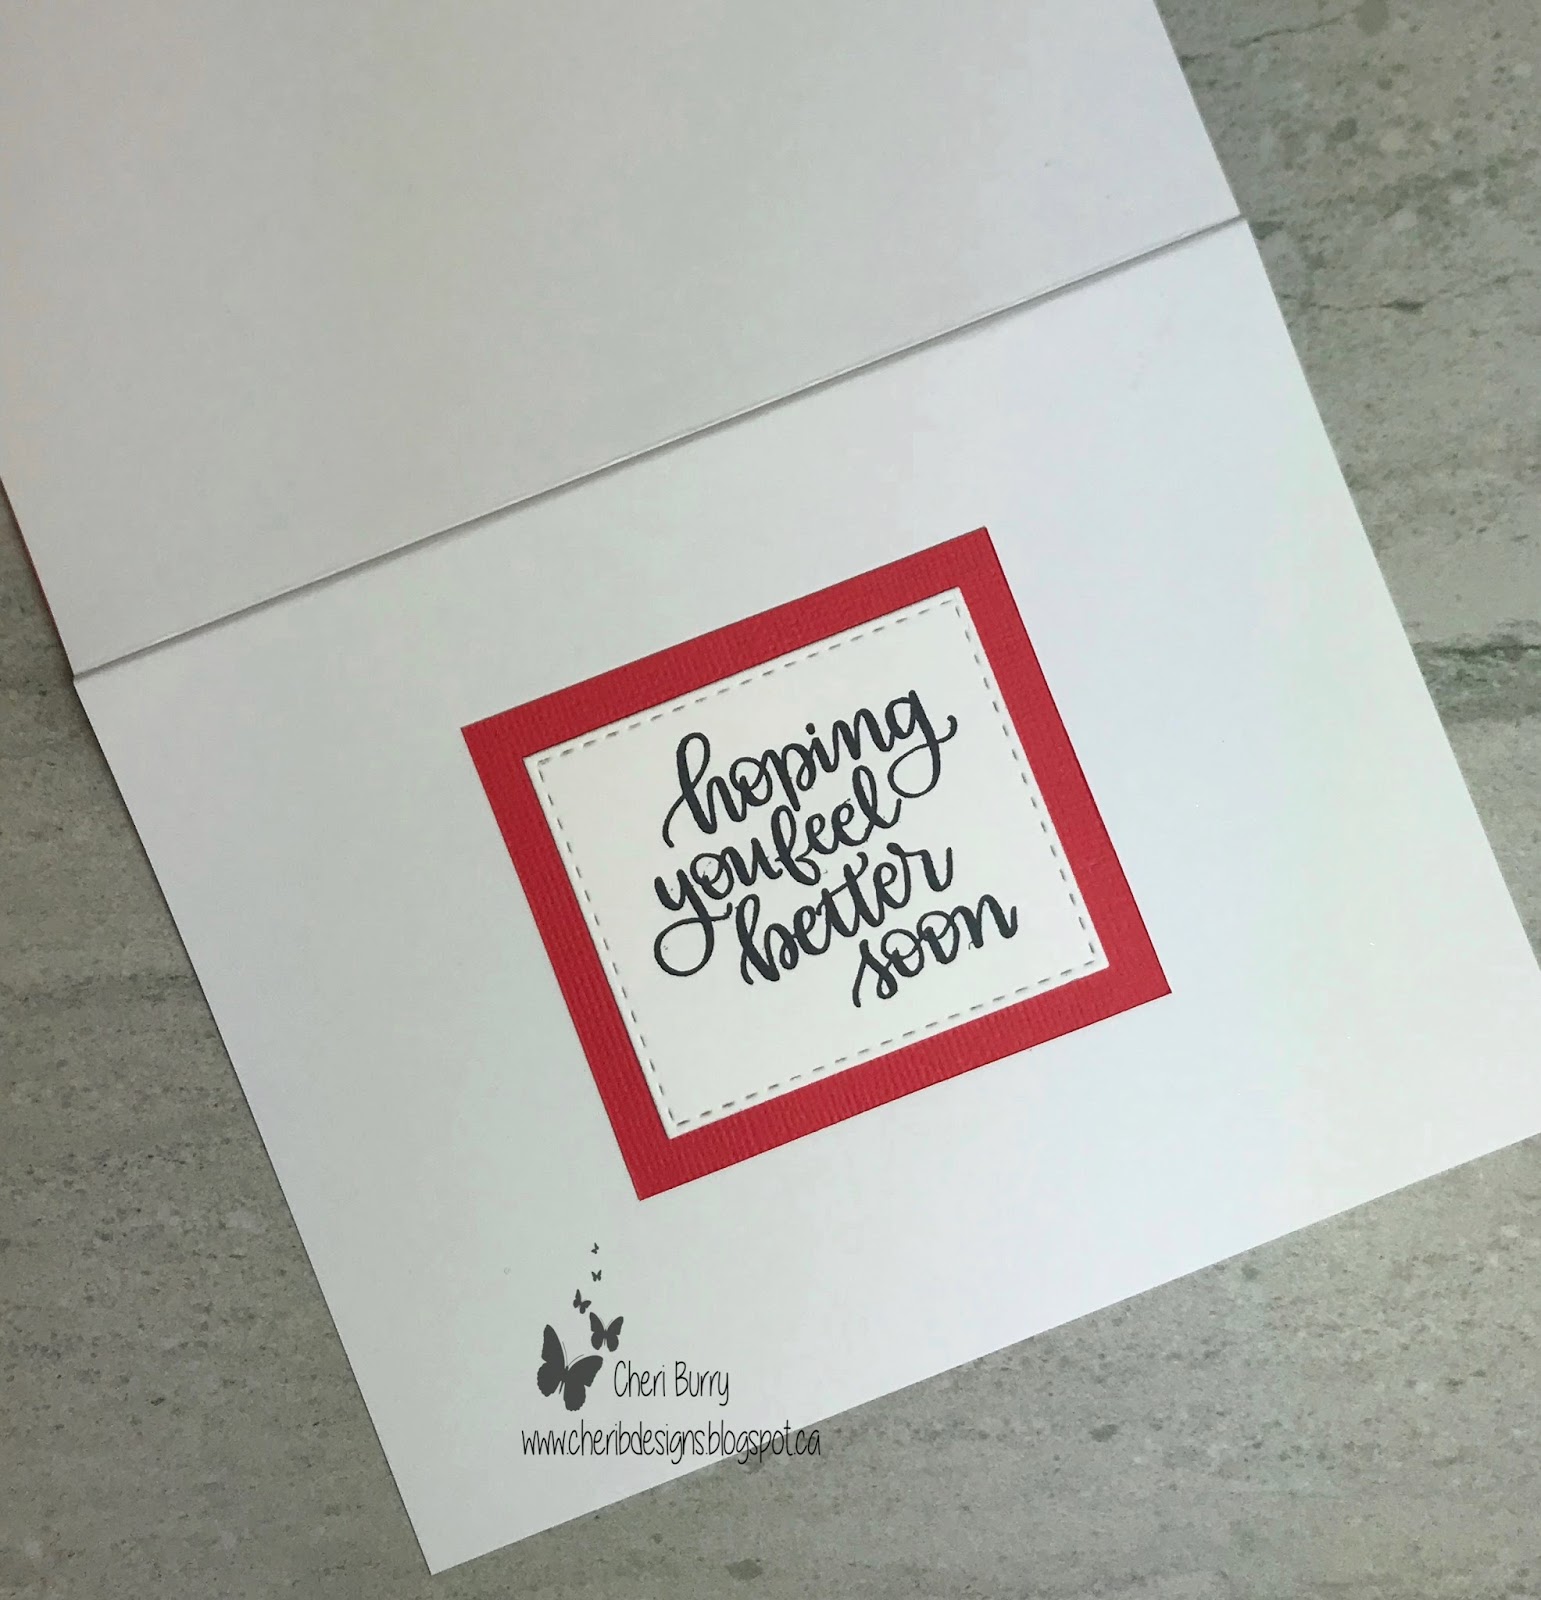
I cut the background into a 3x5 piece to create this card. I am also using a Impression Obsession Greetings Top Edger "Thinking of You" die. This is an A2 card size and I created my own card base using purple cardstock. A few purple gems finish off my card.
On this card I used the leftover inked background and the Penny Black "Wavy Stitched Edges" die. This die cuts your image in half, which was perfect! this way I could use a piece of it on the top and bottom. I used a Polka Dot Embossing folder and glued the ink background pieces on top. I added the Pretty ink Posh "Hummingbird Thanks" cuties for some interest. 

I was able to make these 2 cards from one 6x6 stamped background! How fun to get 2 for 1!!
Happy Stamping!

Friday, May 1, 2020

Flower Heart!

Happy Friday!
I had so much fun creating this set of cards using the "Large Floral Hearts" stamp and die set from Pretty Pink Posh! Once I got started I couldn't stop, hence the 4 cards LOL. Each card uses the stamps in a different way.
Each card has an embossed area on it. I don't know what the folders are called, they came with my Gemini. The Large Floral Hearts die set lets you cut out the hearts in a variety of ways.
On this card I stamped the images with embossing ink and added embossing powder. Once I heat set that, I went ahead and coloured in the flowers using my Tombows and a water brush for more of a watercolored look. Using the dies I cut the hearts and little flowers out. I cut one of the hearts on the side so I could intertwine the two together. The flower centres have some Yellow Nuvo Drops added to them.
Here's the decorated inside.
Tombows Used: 603, 055, 75, 373, 126
On this example I coloured the image and then cut out the middle so that the plaid paper could show through from behind. I added the "Hugs" sentiment that comes in the stamp set.
Copics Used: 
BG53, BG57, V06, V09, R37, R59, R89, Y15, Y18
G28, G46, YG17, YG23, RV04, RV09
On this card I used the inside heart stamped image. I cut the die out of the white paper as well so I could inset the image. I used the same Copic colours as above.
For this card I coloured up both hearts and die cut them out. I added the middle heart to the heart border image with foam tape. 
Copics Used: RV04, RV21, RV23, RV25, RV17
RV19, RV52, RV55

Thanks for stopping by today!
Happy Stamping!


Sunday, May 13, 2018

Mom!

Happy Mother's Day!
I told you I'd be back with more of these cute HummingBirds from Pretty Pink Posh! I thought this would be perfect for my Mom for Mother's Day! Not only does my Mom love Hummingbirds but purple is her favourite colour!
 I made 3 flowers using s Silhouette Cut file and added them to my card. I wanted to keep a consistent colour theme so I coloured my birds in the same purple tones as the flowers. I used a Embossing folder to create the white background of this Eclipse card. Some glitter on their heads add a pretty touch.
Here you can see the different dimensions on my card.

Copics Used:
BV01, BV02, BV04, BV08

Happy Mother's Day to all the Mom's out there today! You are all amazing!
Happy Stamping!
Supplies:

Saturday, April 21, 2018

Hugs & Hello!

Happy Saturday!
I am really trying to use up everything that I have in my stash lately. I am so guilty of purchasing items from new releases or when I see a card with something I love on it. Then when I get my "Happy Mail" it goes into a bin I call "New, never used". And it piles up and gets ignored sitting there on the corner of my Desk.  These cuties have been in my bin for a while now and I am so happy I got them out and played with them. 
This is my fist attempt at an Eclipse card and I can see more in my future, I just loved making it. I masked off the Petunias to create a flower border, then cut out the word "hugs" and popped the letters up with foam tape. Then I added my Hummingbirds to my card. I added Crystal Stickles to the Hummingbirds heads for a glitter effect.
The inside sentiment is from Simon Says Stamp called "Handlettered Encouragement New Beginnings".
On this card I decided to colour the Hummingbirds in a fun colour. I made the background by embossing the Your Next Stamp "Mini Flower Ink Splatter" several times on the background. Then using Distress Oxide ink I blended out some coordinating colours and added a few spritzes of water. After die cutting the coloured birds I popped them up with foam tape and added a die cut "Hello".

Copics Used:
Hummingbirds: R35, R37, R39 / YG91, YG93, YG97
BG00, BG01, BG02, BG05, BG07, BG09
Flowers: R30, R32, R35, R37, R39 / YG61, YG63, YG67

Happy Stamping!

Supplies: