Hi Ai Fans!
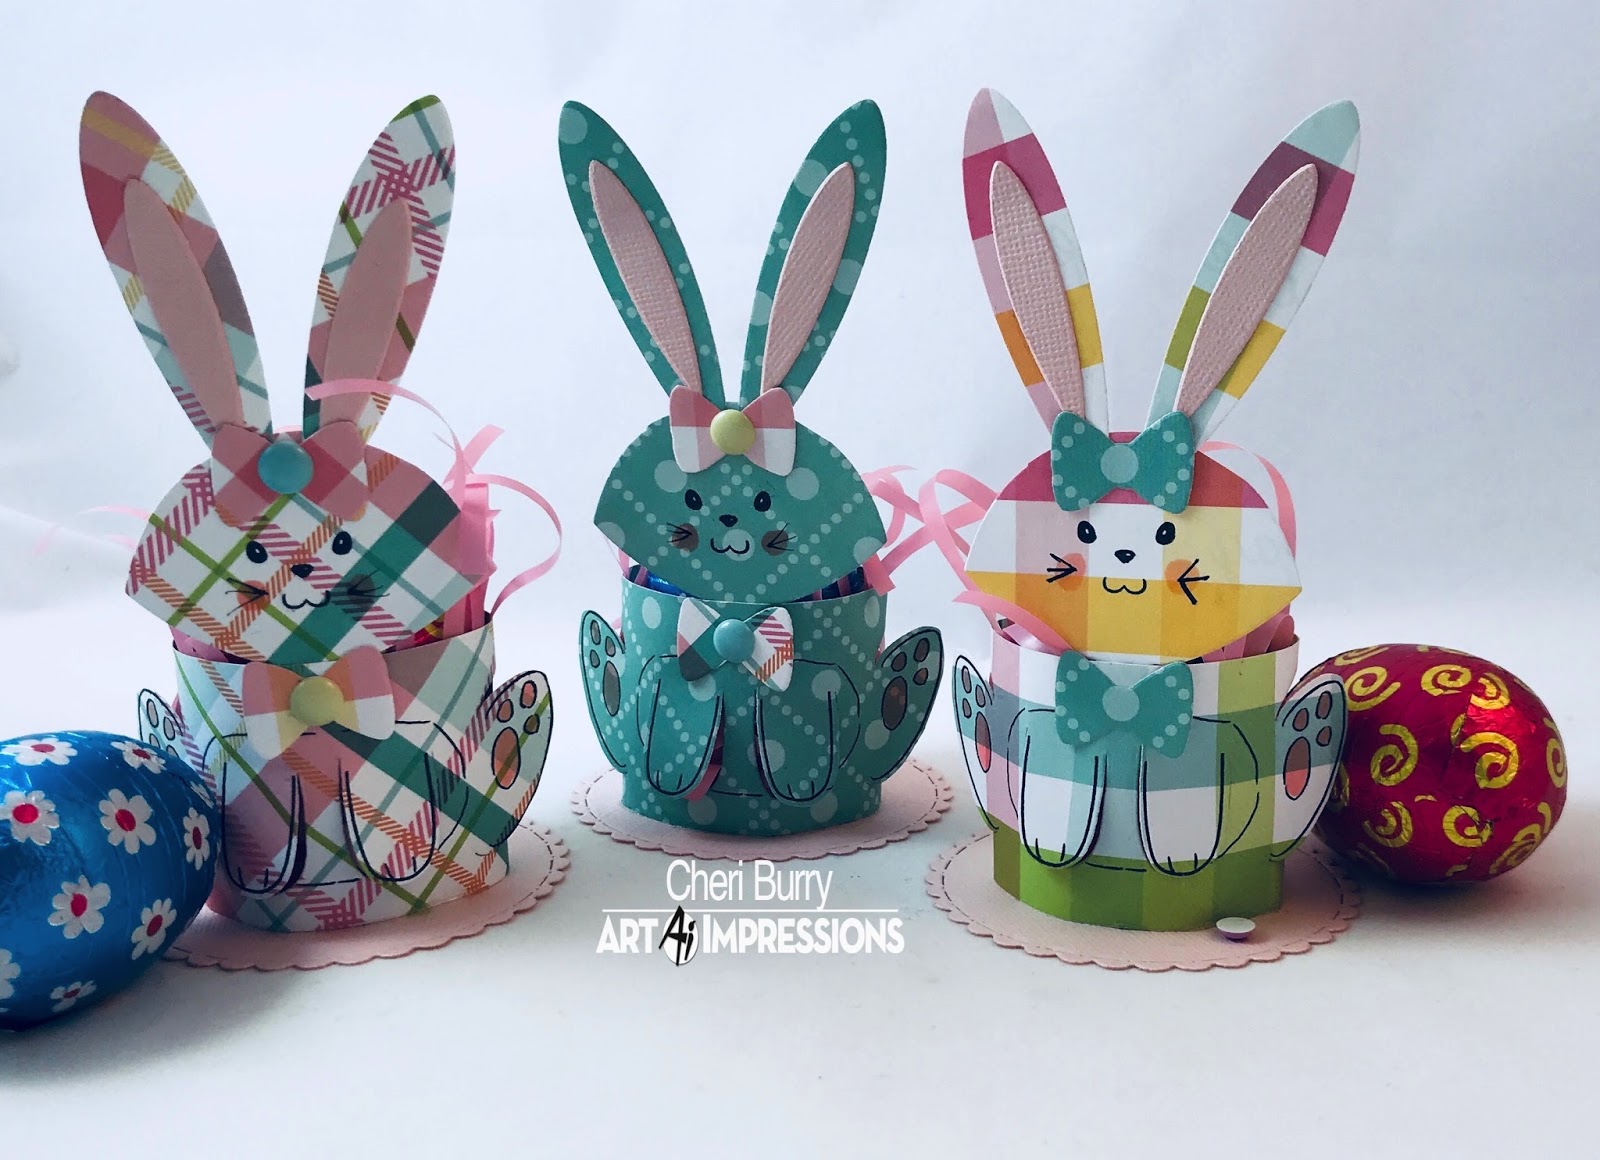
Today I am sharing with you a super cute and easy little project you can make for your Easter Table! My Mom is having the whole extended family so around 30 people this year for Easter. When I saw these adorable Critter Cups from Art Impressions, I knew my Mom and I would make them for her table place settings!

Since we had so many to make we decided to use 12x12 paper from the Echo Park Hello Spring collection, rather than colour with Copics. The only Colouring we did was to use R20 on the Bunny's paws and cheeks. We added some whiskers with a black marker pen. The set comes with the images and dies and is honestly really east to use and assemble!

Because my Chocolate eggs were a bit on the heavy side, the cup keep falling over. I glued a die cut piece of cardstock to the bottom and voila all was good. It also let us fill the cup with Easter grass and not have to worry about it falling out the bottom.

Here's the back view. Looking at this picture now, a light went off LOL. I think I will go back and add either little pom pom or cotton ball tails. I think it's look cute!
Thanks for stopping in today! I wish everyone the Happiest of Easters spent with Family & Friends!!
Happy Stamping!

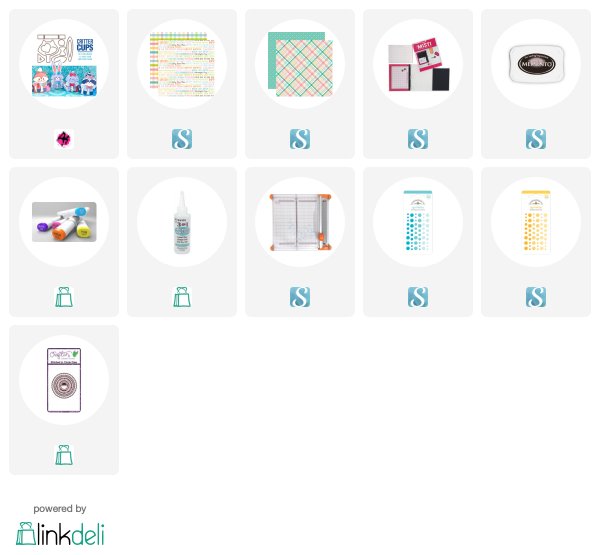
Supplies: