Tuesday, February 27, 2018

Spring Is In the Air!

Good day HH and OCS Fans!!
Spring is around the corner and for me that means "Spring Cleaning" When I saw this stamp from High Hopes I knew it would make the perfect "Spring Cleaning" themed card. This is the adorable "Tidy Up Tillie"!
I chose paper from the Lawn Fawn Perfectly Plaid Rainbow 6x6 collection and finished it off with some Doodlebug Enamel Dots! The sentiment is called "Spring Is In the Air" also by High Hopes! I decided this time to make my own card base with matching pink cardstock. The image and heart border are popped up with foam tape for extra dimension.
Here's my decorated inside with a sentiment I printed on my computer to match my theme!
Copics Used:
Skin: E00, E11, E21, R20
Hair: E53, E57. E59
Overalls: B93, B95, B97
Shoes: RV13, RV14, C1
Broom: E43, E47, YR21, YR24
Dust Pan: C3, C5, C6, C8
Feather duster: E43, E47, Y02, FY1
Outline and shadow: W1, B000

Happy Stamping:
Supplies:
SaveSave

Saturday, February 24, 2018

Center Step card Tutorial!

Hello DDS Fans!
Today I want to share with you an adorable Center Step card I created using the Digital Stamp "Blowing Bubbles" from Digi Design Studios
I am using Digital Papers from DDS today from the "Summer Crush" collection as well as a sentiment from the "Champagne Wishes" Digital sentiment set. I am also going to do a tutorial on how I made my card today, so follow along below if you wish to.
Whenever I set about to make a card I gather up all the supplies I am going to use or think I may use. I am not the type who has a clear vision in my head to start with. I have a basic idea and usually create as I go. Sometimes things I gather don't always get used as I change my mind or I add other things and embellishments at the last minute.
Step 1:
Cut your base cardstock to 5 1/2" x 11"
Step 2:
Using your paper trimmer line up your paper at the 1" mark. Move your cutting blade to 1". Cut your paper from the 1" to the 6.5" mark on your ruler.
Step 3:
Flip your paper over and repeat the above 2 steps
Step 4:
Place your paper on the score board lengthwise
Step 5:
Using your Score board and score at the 1", 2" and 6.5" marks, from the edge to the cut line
Step 6:
Repeat above steps on the opposite edge of the card
Step 7:
Score between the cut lines at 5.5"
Step 8:
Fold at the score lines starting the bottom of the paper with a mountain fold, then valley fold. The top 2 scores are mountain folds. Using your bone folder, reinforce your fold lines for crisp folds
Step 9:
Now that your base is ready, go ahead and colour your image. I downloaded the "Blowing Bubbles" digital stamp, resized the image to my desired size and printed it on my computer.
For a fun element I used a White Uniball Gel Pen and added polka dots to her hair band.
Step 10:
Now it's time to put everything together. Decorate your card as desired. I cut coordinating cardstock to make a layer and my patterned paper layers at the following sizes:
Side panels: 4 3/8"x 7/8" (cardstock), 4 1/4"x .75" (patterned paper)
Bottom panel: 5 3/8"x 7/8" (cardstock), 5 1/4" x .75" (patterned paper)
Center panel: 4 3/8"x 3 3/8" (cardstock), 4 1/4"x 3 1/4" (patterned paper)

I don't have a small butterfly die but no worry!!! I used my Butterfly Border die to make my layered butterflies. I just cut them apart and popped the top butterfly up with a small piece of foam tape.  I love using my dies in more ways then the original concept.
And voila!!!! The finished card! I added some Spectrum Noir Clear Glitter Pen to the bubbles for a bit of sparkle. I also added some clear enamel dots to mimic the bubbles.
Copics Used:
I hope my tutorial will inspire you to try to make your own Center Step card!!
Thanks for stopping by!
Happy Stamping!
Supplies:
Friday, February 23, 2018

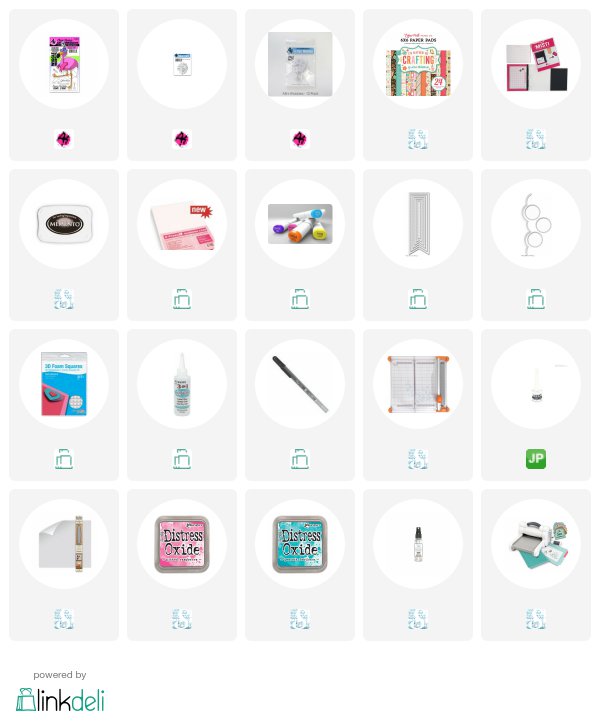
Flamingo set!

Hello Ai Fans!
Today I am sharing with you the adorable "Flamingo Wiggle Wobble" set from Art Impressions.
The "Wiggle Wobble" Line of stamps are just too cute and make such a fun interactive card for your recipient.
I made my own backgrounds by using some Tim Holtz Distress Oxide Inks. I added some of the inks to my craft pad and then spritzed then with water. Then just drag your paper through the ink for a cool look! It looks really cool if you add some ink splatters too. The Flamingo is so easy to put together! The set comes with the stamps, dies and some mini brads to put it together with. Then all you have to do is use the mini action wobble that comes with the set to pop up your wiggly image!
For this card I just used some ink splatters and paper from the Echo Park I'd Rather Be Crafting collection. For a different look I just added the heads of the flamingos to this card.
I also added some gold and white ink splatters to this background using a paintbrush.
Just look how cute the "Flamingo Wiggle Wobble" is in action!

Copics Used:
RV04, RV06, FRV1
YR04, YR07
C7, C8, C10
BG57, B01

Happy Stamping!
Supplies:
SaveSave

Thursday, February 22, 2018

Anything New?

Hi Ai Fans!
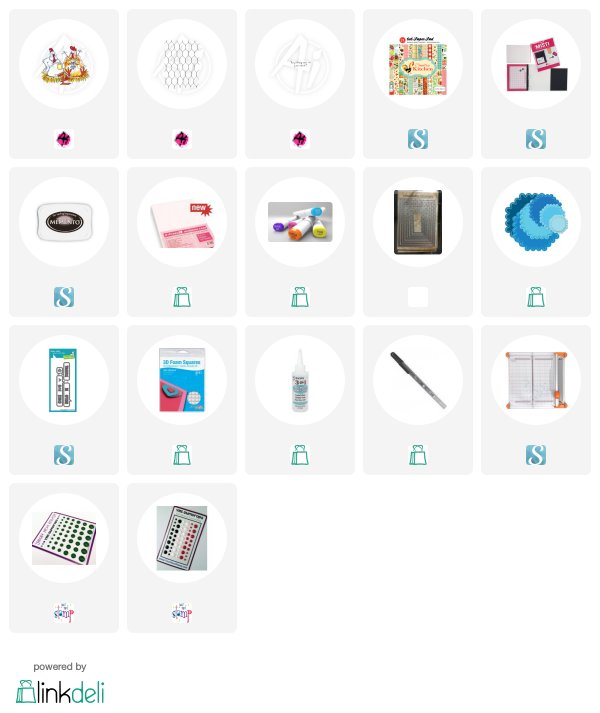
I'm popping in today to share my card I made for the "Anything Goes" Challenge over on the Art Impressions Blog! If you follow me then you know I have  soft spot for the Ai Bird Brains line of stamps. There's just something about them that draws me to them! I am using "Birdie & Eggnus" on my card today!
I chose to use papers from the Carta Bella "Country Kitchen" 6x6 collection. I stamped "Birdie & Eggnus" and then masked them off with a post it note. Then I used the Ai "Chicken Wire" stamp and added it as a background.
Here's another version using the same stamp. The sentiment is also from Art Impressions and is called "Anything New".
Copics Used:
T0, T1, T2, T3, T5
R24, E29, YR04, YR09, G17, G19
E95, E97, E99
B0000, B000

You still have a week left to play along with us over in the Ai "Anything Goes" Challenge! I hope to see you there!
Happy Stamping!

Supplies:

Tuesday, February 20, 2018

Heidi & Mattie!

Hi HH & OCS Fans!
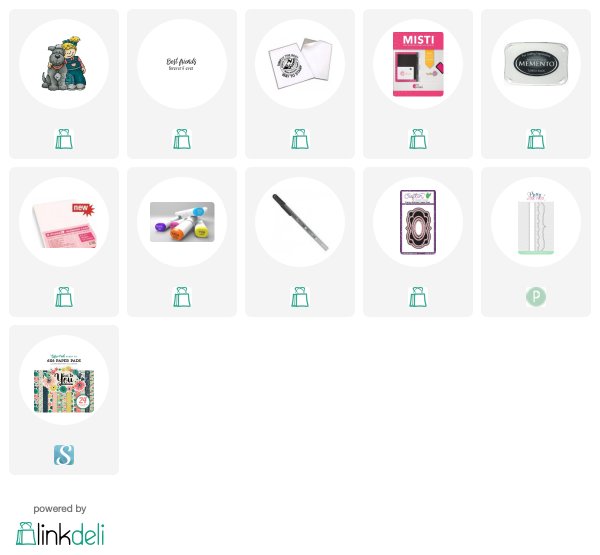
I'm a big dog fan and have had a dog in my life for as long as I can remember! I think it's wonderful to have pets especially when you have children as the two become best friends! I am using the High Hopes stamp called "Heidi & Mattie". Don't these two look like they are the best of friends?!!

I coloured Mattie up adding some grey spots to her with my Copic Markers. My paper this time is from the Echo Park Just Be You 6x6 collection. I decided to paper piece Heidi's overalls for a fun element! The sentiment "Best Friends Forever" is also from High Hopes and goes perfectly with this image!
Here's an inside view of my card. The sentiment is part of the "Best Friends Forever" stamp. I masked off the stamp and used part of it on the front and the other part on the inside of my card. It's fun to do different things with your sentiments!
Copics Used:
Skin: E00, E11, E21, R20
Hair: YR21, YR24, Y21, Y23
Shirt & shoes: R02, R05, R08
Dog: C1, C2, C3, C5, C6, C8/ G43, G46

Thanks for stopping by today!
Happy Stamping!
Supplies:

Saturday, February 17, 2018

New Release over at Digi Doodle Studios!

Hi DDS Fans!
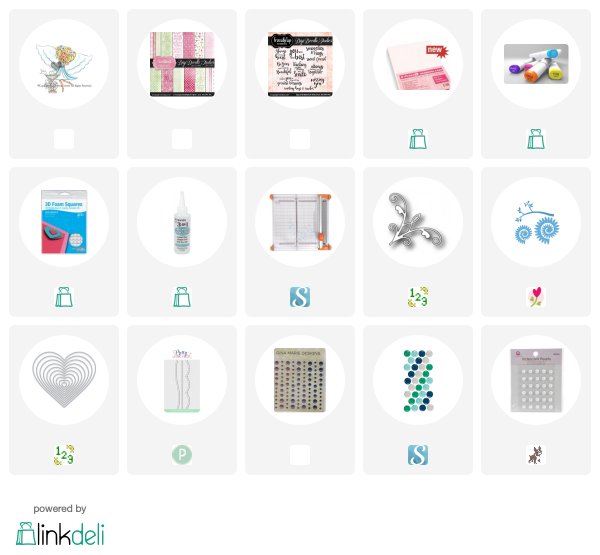
It's New Release day over at Digi Doodle Studios with the "Light & Sprite" Collection! Dina has done it again with another line of adorable digital stamps! I am using the beautiful "Charmeine Berry Blythe" today on my card!
I am using Digital Papers from DDS called "Sweetheart". The colours and patterns are so soft and pretty! I downloaded, re sized my image and printed it off on my printer. Then I set about colouring Charmeine with my Copic Markers. I fussy cut her out and popped her up with foam tape on my layered card. She has Clear Wink of Stella glitter pen on her wings and on all the flowers for a bit of sparkle!
I made my own rolled flowers this time using papers from the same "Sweetheart" collection. I added a pearl gem to the middle of each flower.
I used a sentiment from the "Friendship" Digital sentiment collection
Copics Used:
Skin: E00, E11, E21, R20
Hair: E11, E13, E15, E17, E18
Wings: B000, B0000
Dress & Doves: C00, C0, C1, C2
Flowers: RV11, RV17, RV19, YG25
Bird Bath: W0, W1, W3

Make sure you head on over to the Digi Doodle Studios online store and check out all the adorable new digital stamps from the "Light & Sprite" Collection!

Happy Stamping!

Supplies:

Friday, February 16, 2018

Spring Chicken!

Hello Ai Fans!
Just popping in today to share with you a couple of cards I made using the Art Impressions "Spring Chicken" set. I am a big fan of the "Ai Bird Brains" line of stamps so when I saw these cuties I knew I had to add them to my collection!

I love the way theses cards have a "lift the flap" element to them for an interactive detail!
 I chose papers from the American Crafts "Color Crush" collection for a nice spring like feel. After all I have had enough of winter and needed a boost of spring LOL!
Love the saying on the coffee cup!!
Look at all the images and sentiments that come with the "Spring Chicken" set! Oh just imagine all the possibilities!
Copics Used:
C00, C01, C1, C4, YR12, YR14, YG23
R20, R21, R22, R24, R27, R29
E95, E97, E99, BG72, BG75, E50, E51, E53
W0, W2, B000

Happy Stamping!
Supplies: