Tuesday, November 8, 2016

Snow Kisses!

Happy Tuesday High Hope Followers!
Today I'm over on the High Hope Blog sharing this super cute Snowlady called "Snow Kisses"! This adorable stamp is another one of the newly released stamps from the Fall/ Winter Fun Collection!
My paper this time is from the Bella Blvd. Holly Jolly Christmas collection. I love the non-traditional colours! I'm also following along with this month's Sketch. Sketches are great as it helps you easily create your layout and finished card. I also added the "Dot Winter Wishes" sentiment.
On the inside is the "Sparkle and Cheer" sentiment!
Copics Used:
Snow lady: C1, R211, YR04, YR07
Blues: B91, B93, B95, B97, B99
Pinks: R81, R83, R85, R89
Birds: R22, R24, R27, B91, B93

There are 3 ways to participate and win this month! Click here to go to the Challenge and see the rules.

Here's the Sketch for the month of November!

Thanks for stopping by!
Happy Stamping!


Supplies:

Friday, November 4, 2016

Dairy Christmas!

Hi Ai Fans!
It's Fri-yah!!!! Today I wanted to share with you a neat card that I made using the "Dairy Christmas" set (#4789). Lately on Facebook I've seen a lot of these Twist and Pop cards! I decided they looked so fun and had to give it a try!

I chose papers from the Brazill Basics Paper "Countdown To Christmas" 6x6 collection. I thought the black and red combination would be perfect for the cow image!

I made a belly band out of some wire edged ribbon and attached a snowflake wooden embellishment to it. The band attaches to the back with a Tomboy Hook and Loop Tab which makes it easy to undo to see the card.

Here is the twist part of the card. I thought it would be difficult to make but it was super easy. You just need a score board, paper and some glue or double sided tape. I have to give credit to Collette Mitrega and her awesome video tutorial on YouTube! Collette's instructions were perfect and easy to follow!

When you open it and after the twist action this is the card view you have! 
I cut out the images using my Silhouette and made a cardstock layer to put behind the images to make them pop!
Copics Used:
E13, E15, E17, E31, E33, E34, E40, E41, E43, E50, E51, E53
R21, R22, R24, R27, R29
W0, W1, W3, C3, YR04, Y18, YG93, YG95

Here's a short video showing what the card  looks like as it twists and pops!


We are still playing along with Therm-O-Web and having a product swap! 


Don't forget to enter below for a chance to win a fabulous prize!

Happy Stamping!
Supplies:

Thursday, November 3, 2016

Prep For Christmas Challenge with Therm-O-Web!

Hi Ai Fans!
It's the second week of our "Prep For Christmas" Challenge and Swap with Thermoweb!
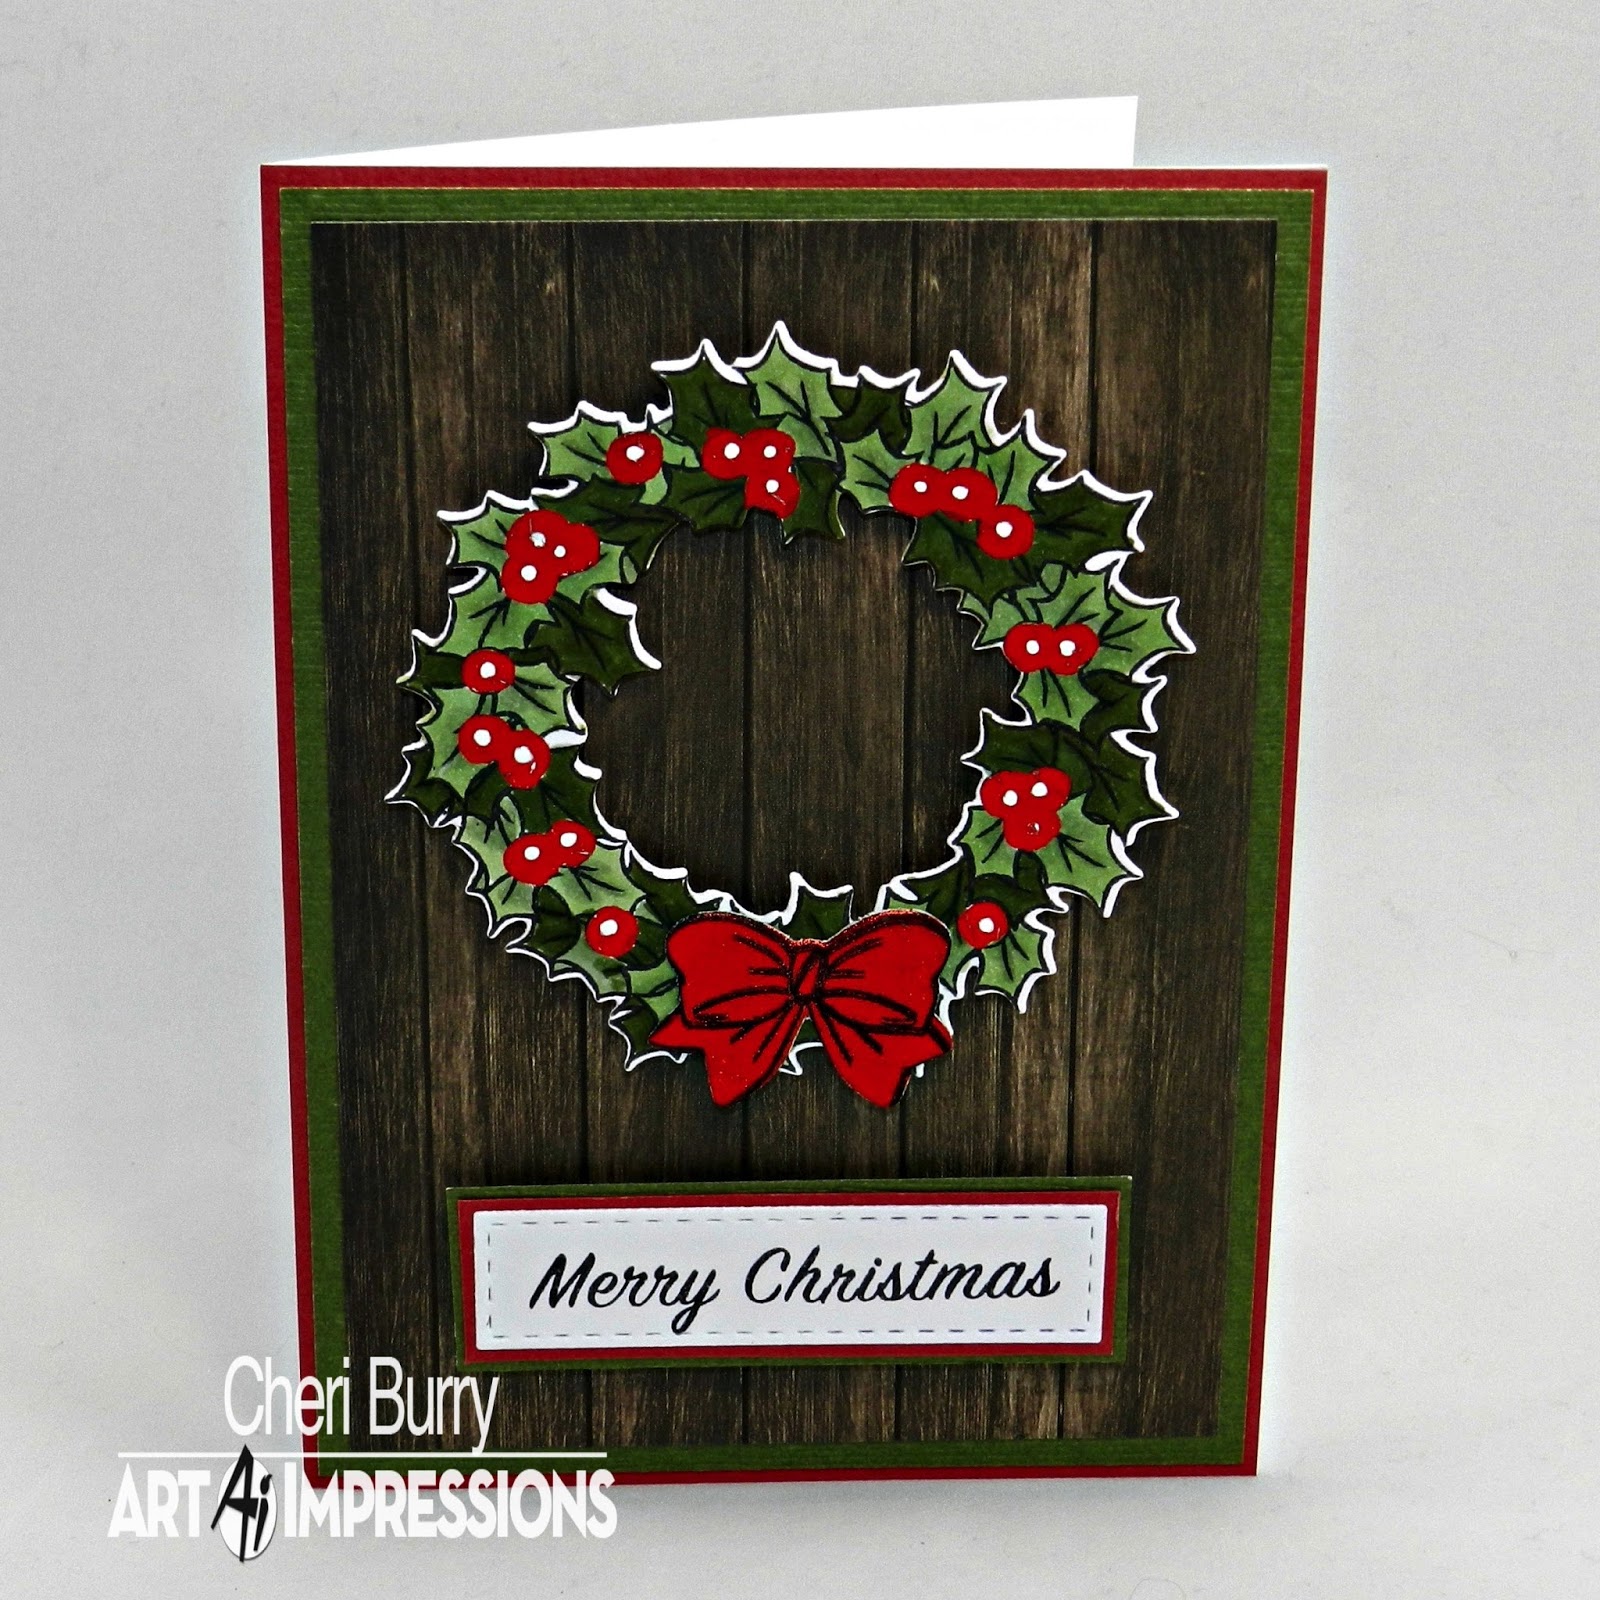
Today I am using the Art Impressions "Christmas Wreath" set (#4791) along with some really fun Thermoweb Products!


I decided to color the Christmas Wreath with my copics but first I wanted to add some Deco Red Foil to it. I decided to color in the berries with the Decofoil pen and then added some red foil and put it through my Heidi Swapp Minc Machine. 
To make the foiled ribbon, I first cut out the image using some Deco Foil White Foam Adhesive. Then I put a small piece of the red foil over one of the sticky sides and gently rubbed the foil onto it.
All you have to do is peel off the foil and voila a foiled die cut! Super easy and fun! Next I stamped the bow image onto the die cut using Jet Black Stazon ink! I then peel off the back of the foiled die cut and adhered it to the wreath.
The foiled parts of the image turned out so pretty! I added a small white dot to each berry with a White Gel Pen and popped the whole wreath up on the card using some Therm-O-Web Foam Squares.
Copics used:
G82, G85, G94, G99

Don't forget to enter the Prize Give away below


Happy Stamping!
Supplies: