Tuesday, April 17, 2018

Magical Moments!

Hi HH & OCS Fans!
Today I wanted to share with you my very first "Z Fold" card!  The card is cool as if folds flat but then........
When you open it up it reveals more card and stands up really well with the "Z fold". I thought these 2 sweet little images would pair so cutely together! I am using the High Hopes  "Little Wizard" and "Wizard In Training".
I decided to pull out some Halloween papers from the Doodlebug Boos & Brews 6x6 collection to use today! I thought they were perfect to match the theme of my card! I added the HH "Magical Moments" sentiment. This card was fun and so easy to make! I followed along with a video tutorial you can find HERE.
Here you get a better view of the "Z" and the way you can decorate the card.
Copics Used:
Skin: E00, E11, E21, R20
Hair & Boy's robe: E21, E23, E25/ YG21, YG23, YG25, YG17
Boy's cloak: W4, W5, W6, W7
Girl's cloak: V05, V06, V09
Orange: YR14, YR16
Book: C0, C0
Owl: E43, E44

Happy Stamping!
Supplies:
Saturday, April 14, 2018

Rosie Cupcake!

Hi DDS Fans!
Just popping in to share with you a card I made using the Digi Doodle Studios digital stamp called "Rosie Cupcake".
I decided to make the card base in the shape of a cupcake and went to the Silhouette Store to find just that! After I cut the base and pieces with my Silhouette Electronic Cutting Machine, it was easy to just assemble it. Then I coloured "Rosie" with my Copic Markers and fussy cut her out. I added some foam tape on her to pop her up on the cupcake. I also used Vintage Photo Distress Ink on all the edges of my papers for extra dimension!
Copics Used:
Skin: E00, E53, BV00, R20
Hair: E43, E44, E47, E49
Pinks: R81, R83, R85, R89
Greens: BG90, BG93, BG96, BG99
Yellows: Y21, Y23, Y32
Icing: C1, Nuvo Drops Carnation Pink
Happy Stamping!
Cheri

Supplies:

Friday, April 13, 2018

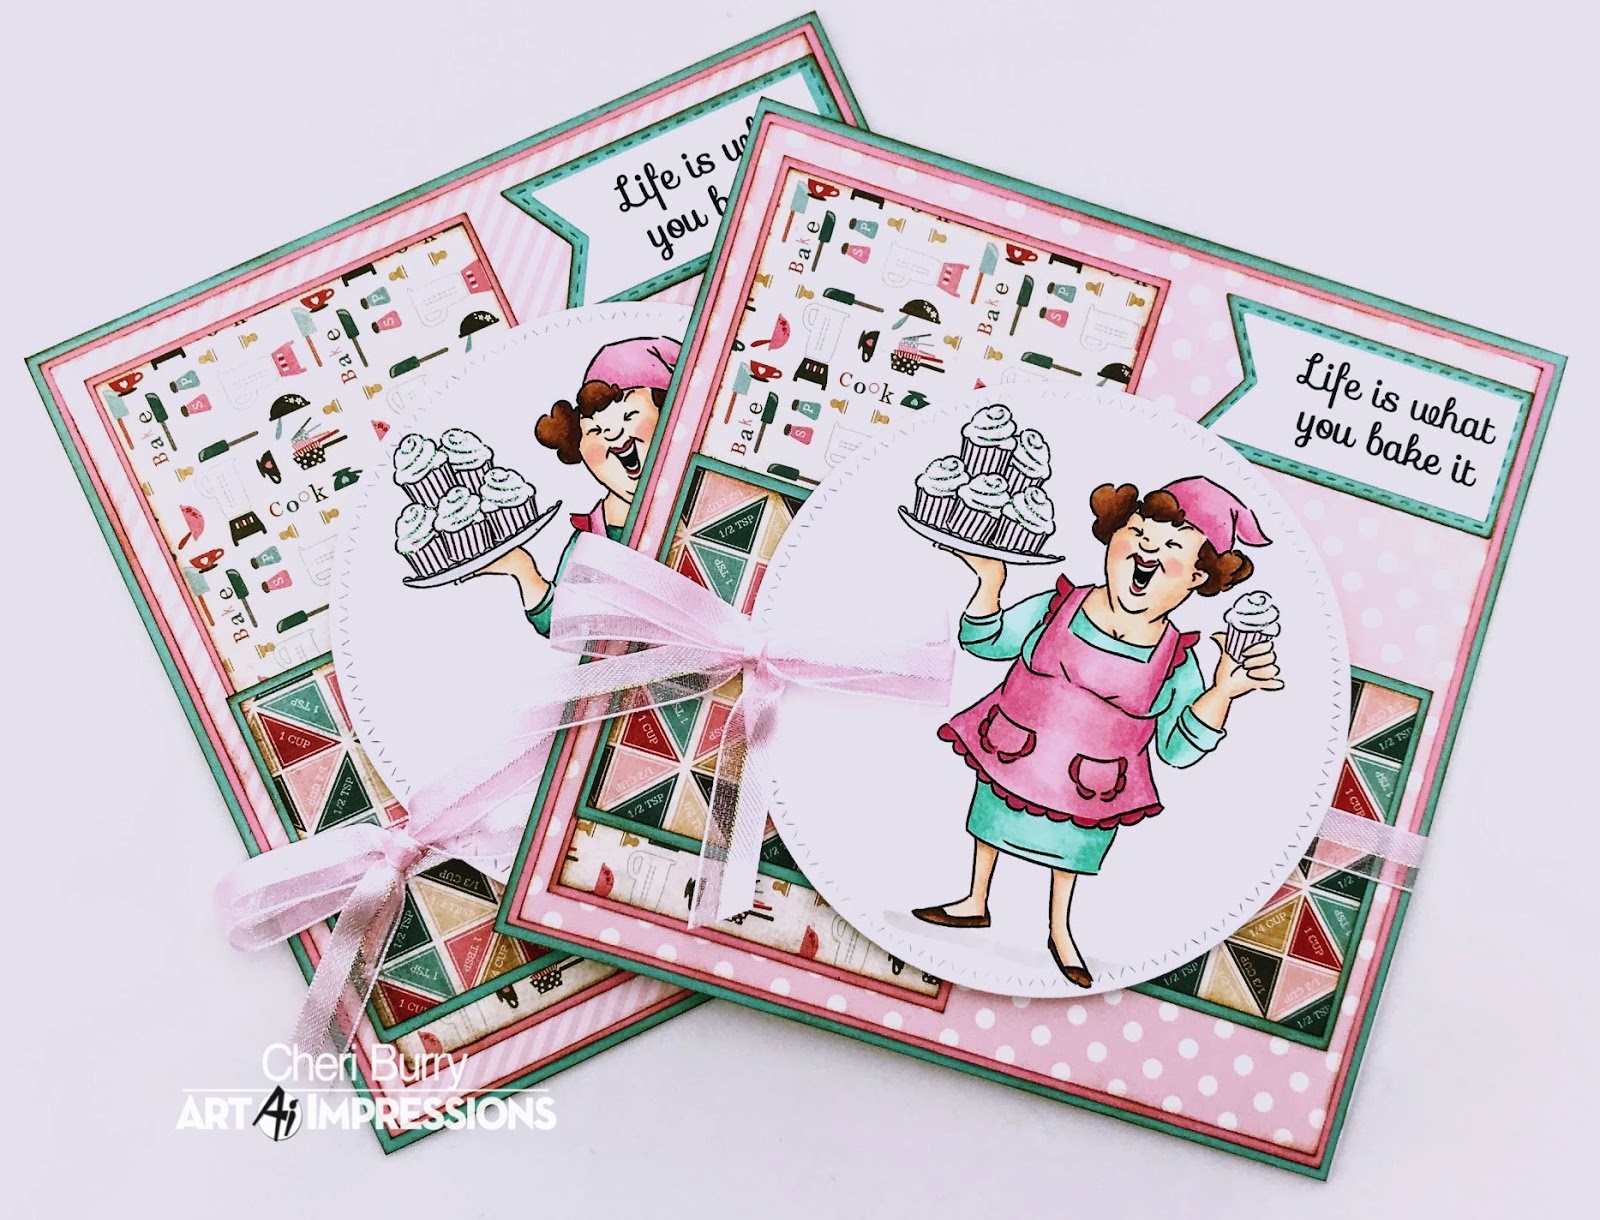
Life is What You "Bake" It!

Hello Ai Fans!
Thanks for stopping by today to see my card I made for my DT post over at Art Impressions! I am using the "Whisk It" set! There is just so much versatility with this set of 7 images and 8 sentiments!
I am using paper from the Carta Bella "Home Sweet Home" 6x6 collection! Perfect papers for a baking themed card! I inked all the edges of my papers with Vintage Photo Distress Ink. Some tickles on the cupcakes and a pretty pink bow finish everything off!
Copics Used:
Skin: E00, E11, E21, 20
Hair: E23, E25, E27
Apron & Hat: RV32, RV34, R81
Dress: BG11, BG23, BG34
Cupcakes: RV01, RV02, C1

Happy Stamping!
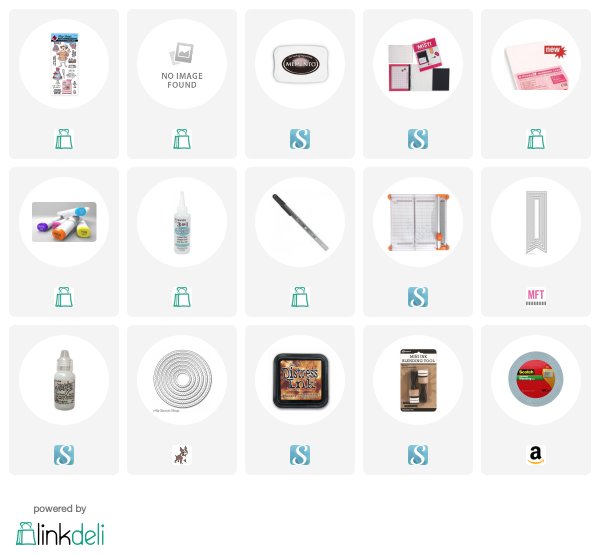
Supplies:
Tuesday, April 10, 2018

Wizarding Gnome!

Hi HH & OCS Fans!
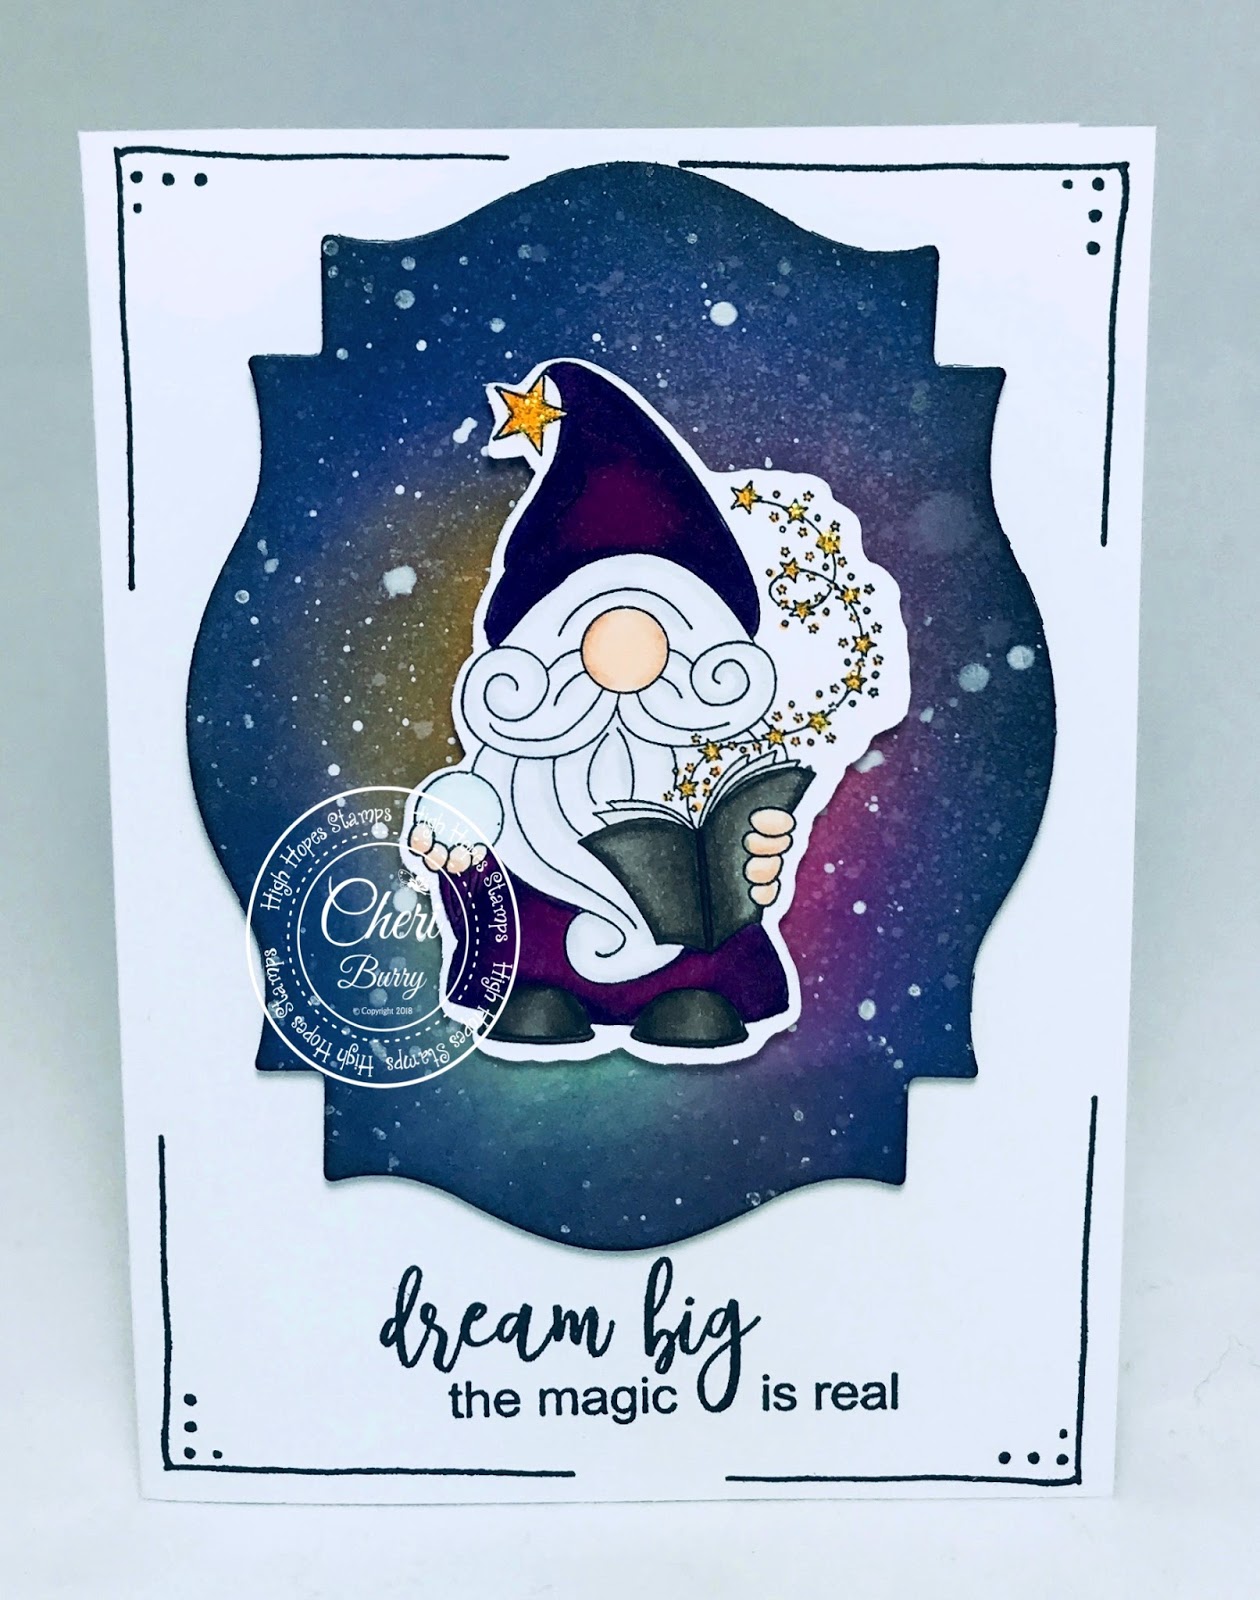
I wanted to share this CAS card I designed with you today! I am using the "Wizarding Gnome" from the New Release over at High Hopes Stamps called "It's A Magical Day".
My design is really simple with no Designer paper today. All I did was create a mystical night sky using some Tim Holtz Distress Inks. I blended all the colours together and then sprayed it with a bit of water. Once I heat set that, I use a paintbrush and splattered some Copic Opaque solution onto it. Using a Spellbinder Labels 18 die, I then just cut out my shape and popped up my image onto it. I added the High Hopes sentiment called "Dream Big" right onto my card base using my MISTI for perfect placement! I used a Whimsy FAdoodles stamp set to add some interest in the corners. A bit of Yellow Stickles and everything was done.
Copics Used:
E00, E11, E21
V05, V06, V09
W1, W3, W4, W5, W6, W7
Y35, Y38
C00, C01

Happy Stamping!
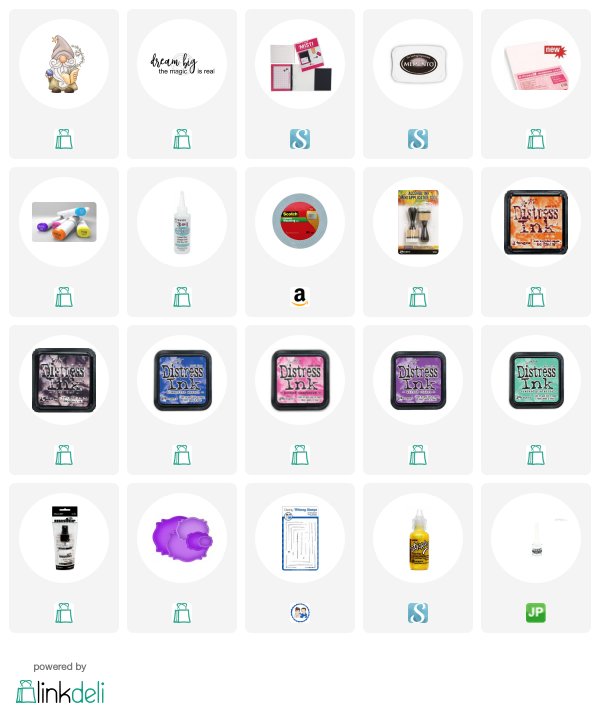
Supplies:
Saturday, April 7, 2018

Turnabout Stamp set!

Good Morning!!
I've had this stamp set in my bin of "new stuff" for a while now and finally had some time to play around with it! This is the Concord & 9th "Dahlia Turnabout" stamp and "Dahlia Turnabout Die" set. I love how easy it was to make these cute cards that will become a gift set for someone special!
I watched a Jennifer McGuire video on how to use them (click here) and once you get the stamp and die prepped, off you go to create beautiful images. I am also trying out my new Catherine Pooler Inks and I have to say they are really juicy and stamp amazingly!
I used the die on 2 of the cards and popped the image up with foam tape. I added some sentiments from my stash of dies, cutting them 3 times and adhering together for more dimension.
On these 2 cards I added some Spectrum Noir Glitter pen to some of the petals. My only disappointment was that the glitter changed the ink colour. I didn't realize the ink is reactive with water so I think I should have heat set it first. But I still love them!!


Thanks for stopping by today!
Happy Stamping!

Supplies:

Friday, April 6, 2018

Friends Who Laugh.....

Hi Ai Fans!
My favourite stamps from Art Impressions is the "Girlfriend" line for sure!! I just love these Gals and the fun times they always seem to have together! This set is called "Comfy On the Couch" and boy do they look like they are having a great time!
I am using papers from the Cart Bella "Flora No. 2" 6x6 collection today on my card! After I stamped and coloured my image, I cut it out with my Brother Cut N Scan machine! Each Girlfriend has a bit of sparkle added to her with Diamond Stickles.
The sentiments on the outside and inside also comes with the "Comfy On the Couch" set.
 

Copics Used:
Skin: E00, E11, E21/ E11, E33, E51/ R20, R24
Hair: YR24, YR27/ E08/ E43, E44, E47/ T5, T7, T9
Outfits: R11, R12, R14/ YG21, YG23, YG24/ B21, B23, B24, B26/ R21, R22, R25
Couch: G94, G99

Happy Stamping!
Supplies:

Thursday, April 5, 2018

Flamingo Twist Tie!

Hi Ai Fans!
It's the 2nd week of the "Twist Tie" Release over at Art Impressions and the "Gatefold Cards Challenge"! Today I got to try out the "Flamingo Twist Tie" set! The sets comes with the images and the metal dies to create your card with.
You can either create your own card base (instructions included) or use a pre-made one from the Ai Twist Ties Card & Envelope 8 pack. The stamp comes with a "L" on the bottom of the stamp that you line up to the edge of your paper. Then stamp and die cut and your ready to go! 
To add my Designer paper I glued it down first and then stamped the image on top. Then I stamped separate images and fussy cut them out after I coloured them. Then I just glued them down to finish off the card.

On this card I used some ink and a tiny flower to create my own stamped background. Then I added Designer paper on the inside that you can see through the heart. I put the sentiment on the inside on this card.
Copics Used:
RV04, RV06, RV09
YR02, YR04
C6, C8
Y35

Happy Stamping!
Supplies:
SaveSave

Tuesday, April 3, 2018

Stay In the Magic!

Hi HH & OCS Fans!
I've been wanting to try this style of a card for a while and when I saw the High Hopes new "Fairy Garden" stamp I knew it would be perfect! I was inspired by my friend Renee's card that she had made, with an acetate middle. (see it HERE). I knew it would be super cute paired with the "Twinkle Fairy" image!
I am using paper from the Lawn Fawn Perfectly Plaid collection for just a touch of pattern. I wanted the Fairy Garden to be the main focal point. I love how it looks like "Twinkle Fairy" is actually flying by!
Here you get a better idea of the added acetate panel. The sentiment is also from High Hopes and is called "Stay In the Magic".
Here's a full view of the "Fairy Garden" image.
Copics Used:
E00, E11, E21, E43, E44, E47, E49
R20, R35, R37, R39
YG17, YG21, YG23, YG25, YG61, YG63, YG67
BG0000, BG000, BG01, BG53, BG57
Y35, Y38
RV06, RV09
W1, W3, W5, W7
White and Black gel pens
Wink of Stella on all the flowers

Happy Stamping!
Supplies:

Sunday, April 1, 2018

Thinking Of You!

Hi DDS Fans!
 It's the start of a new month so that means it's also the start of a New Challenge over on the DDS Challenge Blog! The theme for April is "Spring Fever"! Today I am sharing with you a card I created using the Digi Doodle Studios digital stamp image called "Birdy". The little birds in her hair just make me giggle, I mean how cute is that!!! And of course with Spring comes the return of some of the birds that "vacation" in the south LOL!
I was inspired by a post I saw on Facebook where the Designer created a Lollipop card using a rosette. I decided to give it a try and made my own version. I cut 2 strips of patterned paper at 2 1/2" by 10". Then using my Score Board I scored each strip every 1/2". Then all you have to do is fold the strips back and forth. I joined my 2 strips with some tape making a circle. Then just push it all down and glue the middle together. It made a 5" rosette. After it was completely dry I added it to my 6" square card base! Then all I had to do was add my image, a bow, some enamel dots and a DDS sentiment from the "Friendship" digital sentiments collection, and my card was done.
Here you can see how much dimension the rosette adds to my card.
Not sure how I am going to mail this LOL, but I'll figure it out!

Copics Used:
Skin: E00, E11, E21, R20
Hair: Y21, YR12, YR14, E15, E18
Outfit: RV 66, RV69/ BG05, BG07, BG09
Birds: Y13, Y17, Y18, YR07
Flowers & Branch: RV63, YG23, E43, E47
Clear Wink of Stella added to her hair band and scarf

I hope you'll join us over on the DDS Challenge Blog and share with us your "Spring Fever" creations!

Thanks for stopping by!
Happy Stamping!
Supplies: