Sunday, December 1, 2019

Holiday Wishes!

Happy Sunday!
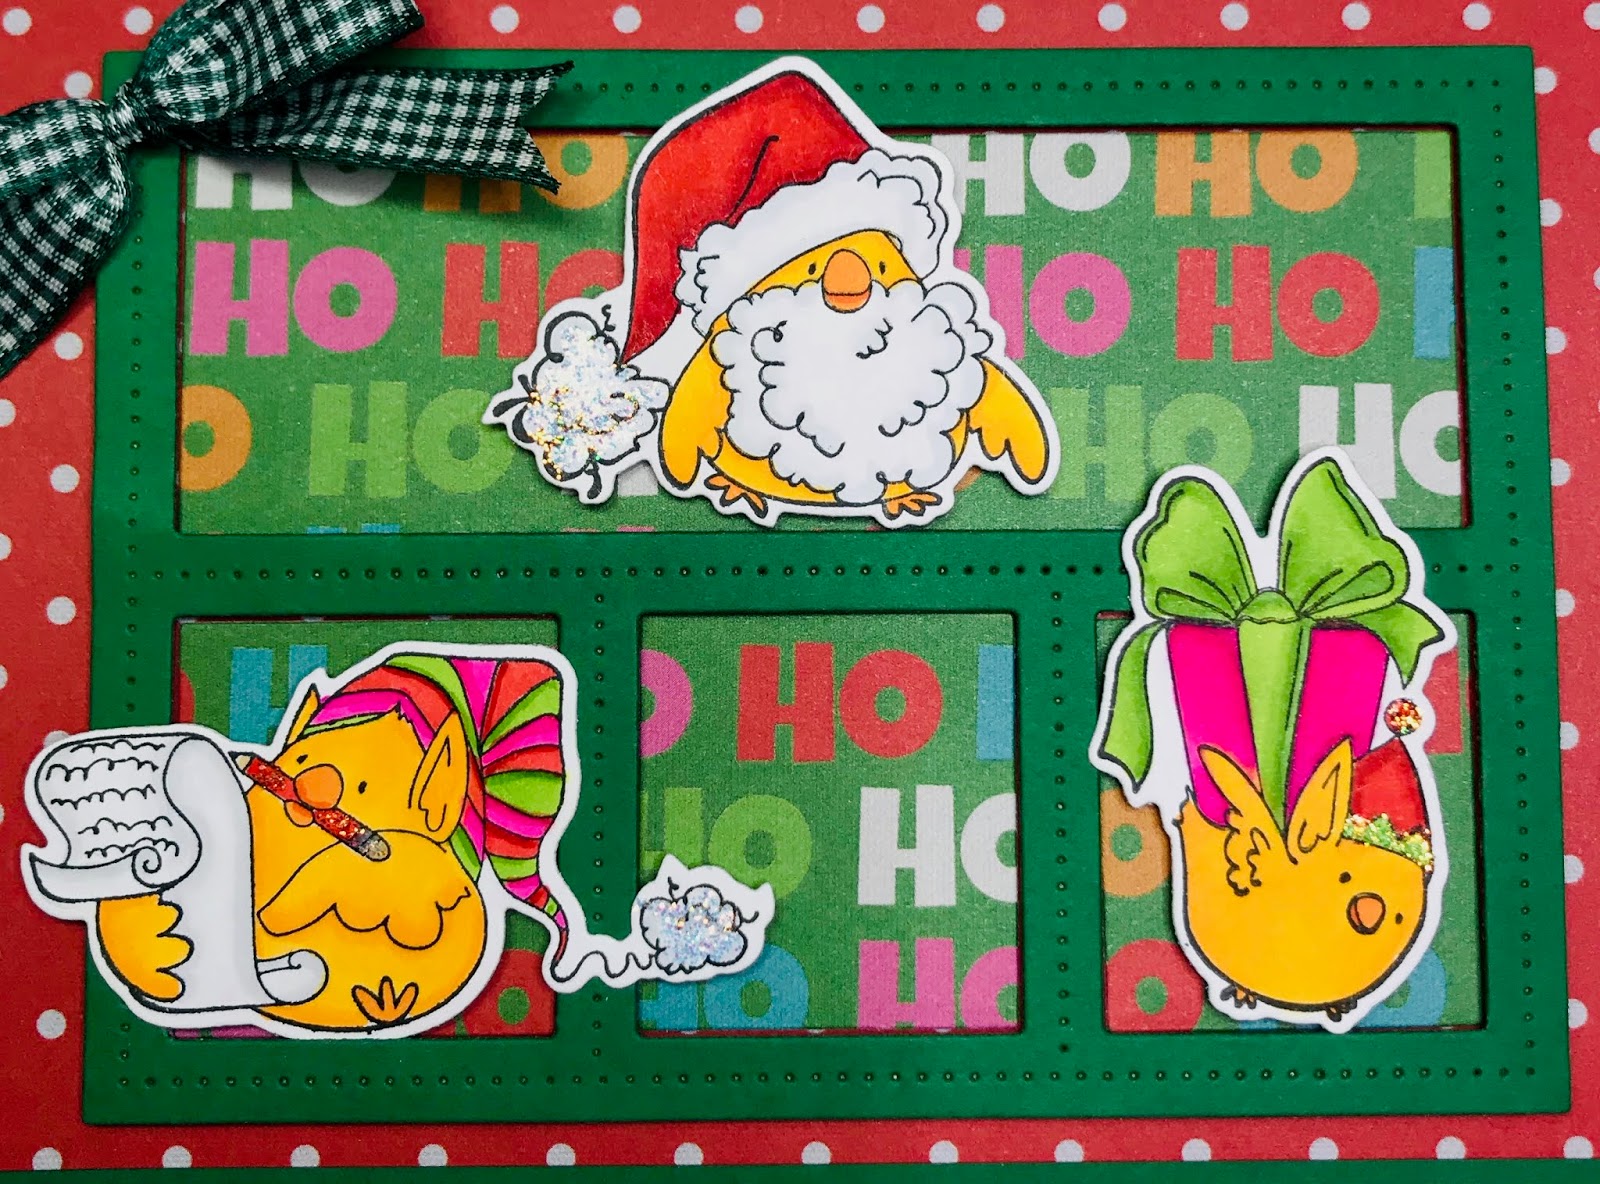
Look at these cute little chicks from the Stamping Bella "Santa Chick and His Helpers" stamp set! They are just so sweet and so easy and fun to colour up!
This card was fun to create and came together really quickly! I coloured the chicks up with my Copic markers and then used the "Santa Chick and his Helpers" matching die set to cut them out. Next using the MFT Stitched Window Panel and paper from the Polkadoodles "Ho Ho Ho" 6x6 collection created my card design. I popped the frame up with foam tape and inlaid the Ho Ho Ho paper. Everybody has a bit of Stickles on them for a fun sparkly look.
Here's the decorated inside using the sentiment that came with the stamp set.
Copics Used:
Yellows: Y35, Y38
Red: R24, R27, R29
Green: Yg17, YG23, YG25
Pink: RV04, RV06, RV09
White areas: C00, C1

Thanks for stopping by today!
Happy Stamping!

Friday, November 29, 2019

Gnome Pile!

Hello friends!
Oh my gosh!!!! I am loving the Gnome craze that's happening this year! I wish I could collect every single one! How cute is this "Gnome Pile" from Stamping Bella?!!! I just love their cute faces!!
I coloured these cuties to match the papers from the Polkadoodles "Wintertime" 6x6 collection. I love the colour combinations in the Designer pad! I used dies from Kat Scrappiness and MFT to create my card design. I cut out the image with my Brother Cut N Scan and then popped them up on my card with foam tape! The sentiment comes with the "Gnome Pile" set and is just perfect for this image!
Copics Used:
Skin: E00, E11, E21
Beards: N0, N1, N3
Red: R22, R24, R27
Blue Green: BG53, BG57/ BG72, BG75


Thanks for stopping in today!
Happy Stamping!

Tuesday, November 26, 2019

Oh Deer!

Happy Tuesday!
I love Tuesday's because I get to share my High Hopes Rubber Stamp cards! Today's card is using the adorable "North Pole Reindeer" From the HH Christmas 1 Release!
I stamped this adorable reindeer on a die cut from the CDD Banner set and then coloured him up using my Copic Markers. I added some Stampendous Spoonful of Snow on the ground, pole and sign for a fun wintery look. I decided to use papers from the Photoplay "Kringle & Co." 6x6 collection. I thought the red and black combo was a nice alternative to traditional Christmas colours. A bit of twine, double bows and some snowflake gems finish off my card today! The snowflakes are sparkly clear plastic and just wouldn't focus for my camera if the reindeer was to be in focus, sorry for that but they are really pretty!
On my decorated inside I used the High Hopes "Oh Deer" sentiment. It just goes perfect with this image!
Copics Used:
Reindeer: E30, E31, E33, E34, E37/ W1. W3, W5/ R01 and Xmas Red Stickles
Pole & Scarf: R24, R27, R29, N5, N6, N8, Gold Wink of Stella
Outline Shadow: T0, T1

Thanks for popping in today!
Happy Stamping!

Sunday, November 24, 2019

Ink Blended Snowflakes!

Welcome!
I've been playing with my Tim Holtz Distress Inks again LOL. I had so much fun making the cards in my Blog Post "Distress Ink Watercoloring, that I just had to do it again! Although only one card is done with the watercoloring technique this time. I decided to use very bright colours rather than the traditional Christmas colours!
I heat embossed my snowflakes from the SSS "Frozen Fractals" stamp set in random patterns with white and silver embossing powder. Each card has some enamel dots added for a fun look.
On this card I used the watercolour technique from Jennifer McGuire's video that originally inspired me! All you do is sort of smoosh the ink pads directly onto your paper and then spray it liberally with water. You have to then be patient and let it dry which takes quite a while but then you get the beautiful water-colour look. I added the SSS "Joyful" die cut in silver and backed it with blue paper onto my card. Then I stamped a sentiment from the SSS "Tiny Words Christmas" set and tucked it under the J. 
Distress Ink used: Salty Ocean, Cracked Pistachio, Peacock Feathers
I think this is my favourite of the 3. I think it's the glitter paper that I used on the card base that just is so rich, I love it! On this card I stamped the snowflakes more into a border and used traditional ink blending techniques. Then I fussy cut along one side of the stamped image and popped it tip with foam tape on my card for a dimensional look. The "Christmas " die is from my stash and I'm not sure who makes it.
Distress Ink Used: Dusty Concord, Wilted violet
This gorgeous pink card started by stamping the snowflakes in a random order and heat embossing in white powder. Then I just ink blended the traditional way and added lots of glittery enamel dots for a finished look. The sentiment is from Lawn Fawn's "Winter Big Scripty Words" stamp set and I cut it out with the matching die set! I stamped the sentiment with clear embossing ink and then heat embossed it with silver ink.
Distress Ink Used: Worn Lipstick, Picked Raspberry.

Sometimes it's just fun to make some cards without having to stamp and colour an image!
Happy Stamping!

Friday, November 22, 2019

Tweet Holiday!

Happy Day!
I'm back with another Christmas themed card. I love making Christmas cards, there are just too many cute images to use and "Tweet Holiday" from Your Next Stamp is no exception! I love how the one hat is over the bird's eyes LOL.
I decided to make two different coloured images and matched papers from the Echo Park "My Favourite Winter" and "A Cozy Christmas" 6x6 collections. I kept the design the same, but they still look a little different than each other. I added Stickles to the trim on their hats for a bit of bling!
On the decorated inside I used the adorable sentiment that comes with the set. 
Copics Used:
Reds: R37, R59, R89/ R24, R29
Blues: B34, B37, B39/ B000, B01
Greens: G94, G99
Beaks and feet: YR04, YT07
Branch: E43, E44, E47


Hope you have a "tweet" day!
Happy Stamping!

Tuesday, November 19, 2019

Christmas Santa!

Hello!
There is nothing cuter than Santa with Rudolph and this rubber stamp called "Christmas Santa" from High Hopes Rubber Stamps is just that....CUTE!! Christmas is my favourite Holiday! I love to decorate my house and the memories we make each year with family and friends are ones I cherish dearly!
My card today is a simpler one for me! Usually I add lots of designer paper layers but I thought the scene with the "Christmas Santa" stamp was more than enough interest! So I only used 1 layer of matching cardstock and 1 layer of Designer paper from the American Crafts Cozy & Bright 6x6 collection. There is a bit of glitter pen on the candy cane and ribbon bows for a soft look. 
I used a die from Gina Marie called "Feathered Lace Rectangle" and I think it just sets off the image. A nice Christmas bow finished off my card.
I kept the same design theme on the inside and used the High Hopes sentiment called "Believe". I really think we should all "Believe" in the magic of the Holidays!
Copics Used:
Skin: E00, E11, E21, R20
Beard: C1, C2, C3, C4
Deer: E31, E33, E35, E37, W1, W3, W5
Boots, Belt & Gloves: N5, N6, N8
Reds: R35, R37, R39
Greens: YG63, YG67
Yellows: Y26, Y28

For more inspiration using High Hopes Stamps visit out Facebook Group or the Blog! The Design Team always posts such adorable creations!

Happy Stamping!


Sunday, November 17, 2019

Cool Christmas!

Hello!
Today I'm sharing a set of Christmas cards I created using the "Cool Christmas" (MFT just retired this) stamp set from My Favourite Things. Love these travelling Snowmen!

On this card I created a scene for the Snowmen to travel through. I used the MFT "Stitched Snowdrifts die" to create the hills and the Elizabeth Craft Designs "Village Edges" for the town in the background. I'm using papers from an older Echo Park collection called "I Love Winter".
This is one of the sentiments that comes in the set.
On this card I created the sky background using Distress inks and a blender tool. Then using some Nuvo Glacier Paste in Quick Silver and the MFT "Snowfall Vertical Stencil", I dded some snowflakes.
On this card I cut the sentiment in half to have part on the card front and the other part inside.
Copics Used:
Reds: R24, R27, R29, R37, R59
Blues: BG53, BG57/ B21, B23, B24, B26, B28, B34, B37
Greens: YG23, YG25, YG61, YG63, YG67
Tires: N5, N6, N8
Y21, E27


Friday, November 15, 2019

Howdy Girlfriend!

Howdy Y'all!
I have always loved the Art Impressions "Girlfriend" line of stamps! I own the whole collection and always love colouring up these fun friends! This set is called "Cowgirls, and true to the "Girlfriend" line are fun and sassy!
I chose paper from the Doodlebug "Down on the Farm" 6x6 collection. The fun and bright designs are perfect for these "Cowgirls". I stamped and coloured the image with my Copic markers and then using my Brother Cut N Scan cut out the image. Polka dots were added to one of the girlfriends and Spectrum Noir glitter pen to the middle girlfriends vest and skirt. Using a Copic liner I added a plaid pattern to the blue shirt, I mean I couldn't leave her out of some added detail LOL!
Here's the inside decorated with more paper and a fun sentiment! Perfect sentiment for some "Cowgirl" birthday wishes!
Copics Used:
Skin: E00, E21, E11, R20, R24
Hair: YR21, YR23/ E23, E25, E27/ N5, N6, N8
Blues: B24, B26, B28/ B34, B37, B39
Reds: R24, R27, R29
Browns: E21, E23, E25, E27, E29, E31, E33, E35

Hope you have a boot scootin', toe tapping kind of day!
Happy Stamping!

Tuesday, November 12, 2019

Paws of Love!

Hello!
Just popping in today to share with you an adorable Christmas card for the Cat lover on your Christmas Card list! This image from High Hopes Stamps is called "Naughty Kitty". I think he's just started his shenanigans, I wonder what it will look like after he unwinds the whole roll. Of course he's not all to blame, he has his little bird friend encouraging him on the side LOL.
I made a split panel card today. This is my first attempt at this type of card. I was inspired by a video by Jennifer McGuire (Click Here). Now mine didn't turn out as nice as hers, I don't think I left my window big enough but I still was happy with how it turned out. I added a die cut Poinsettia and some glitter using stickles.
Here you can kind of see the split in the card. "Naughty Kitty" keeps the upper and lower panels together.

On my decorated inside I used the High Hopes sentiment called "Paws of Love".
Copics Used:
Kitty: C0, C1, C2, C3, C5, C6, C8, R01
Reds: R24, R27, E29
Ribbon Spool: YG17, YG23, YG25/ E43, E44

Thanks for stopping by and.....
Happy Stamping!


Sunday, November 10, 2019

Santa is coming!

Welcome Back!
So happy that you stopped by! Today I am sharing a "Tunnel card" using the "Secret Santa" set from My Favourite Things (MFT).  I'm working my way through my stamps that I've been hoarding LOL. I bought this set last year and finally created with it! Let me say..... "Secret Santa" is absolutely one of the most adorable set of stamps and sentiments!
I was intrigued by the Photoplay "Tunnel Card" pre-cut value pack. All the pieces come cut with simple instructions, you just use your favourite nested dies to create the "windows". What I like about tunnel cards is that they lay flat but when you open them up you get a sort of "pop up" scene!
I stamped and coloured the images I wanted to use from the set and then fussy cut them with my Brother Cut N Scan. There is a matching set of dies if you don't have a cutting machine.
I popped up some of the images to create a dimensional look. I added sparkly enamel dots to the Christmas ornaments. The paper I used is from the Echo Park "My Favourite Christmas" 6x6 collection.
Copics Used:
Skin: E00, E21, E22, R20
Hair: YR21, YR24, YR27/ E43, E44, E47, E49
Santa's Beard: N1, N3
Santa's sack: E30, E31, E33
Girl's Dress: RV000, RV02
Reds: R24, R27, R29
Greens: YG61, YG63, YG67
Blacks: N1, N3, N5, N6, N8

Happy Stamping!