
Hi Ai Fans!
Today marks the New Release of the "Work and Play" stamp sets over at Art Impressions. I am using the "Whisk It" set on my front stepper card today!
Today marks the New Release of the "Work and Play" stamp sets over at Art Impressions. I am using the "Whisk It" set on my front stepper card today!


I love when Art Impressions does a stamp set as there are so many different combinations that you can make with all the images and sentiments.

I started by gathering up all of my supplies. I decided to use papers from the Doodlebug "Cream & Sugar" 6x6 collection.

Cut a piece of pink cardstock at 4 1/4" x 11". Next score the cardstock on its long side at the 1 1/4", 2 1/2", 4 1/4", 6" and 8 1/4" score lines.

Fold the lines with mountain and valley folds as in the picture. I used my bone folder to get crisp folds on the score lines. Next, cut a piece of cardstock at 4 1/4 x 5 1/4 to use as a card base.

Stamp your images with your preferred method. I happen to love my Misti for this! Makes it so easy! If you don't get a good first ink impression just ink and stamp again. Colour with your favourite colouring medium. I used my Copic Sketch markers, which happen to be my favourite medium!

You can either fussy cut out some of the images either with scissors or like me I used my Brother Cut N Scan machine.

Now that I have everything coloured, cut out and ready to go, I'm ready for the fun of assembling my card.

I matted some Designer paper with Blue Green cardstock and added Crystal Stickles to the cake and cupcakes.

I was getting frustrated with my card base as it kept sliding open too much. I decided to add a piece of cardstock that was 4 1/4" x 6 1/2". I scored one end at the 1" score line and folded it. Then I glued it to the inside of the stepper card bringing it underneath.

I added a border edge popped up with foam tape and now I have what I call a Front Stepper Easel card! Solved the problem though now didn't it LOL!

Then I just added my main image and all my little cut out images with some foam tape for dimension!

When you "undo" the easel part everything folds flat so you can stick it in an envelope!

Copics Used:
E00, E11, E15, E17, E19, E21
RV10, RV11, RV25, RV29
BG45, BG49
Y13, Y15, Y17
YG23, YG25
N0, N1, N2, N4, N7, N9
Happy Stamping!

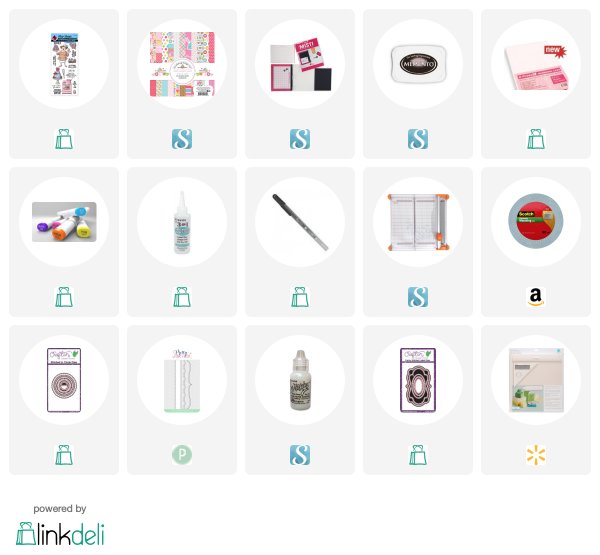
Supplies:
4 comments:
OMGee!!! What a fun new set!!! I love how you used so many stamps to create your gorgeous front stepper card! Must try this layout :) Thank you for sharing an easy to follow tutorial as well! Love your scallop edge fix too!!! An amazing make by the talented you!!! <3
Love this fancy fold card! What is it called?
Oh my goodness this fancy front
stepper card is AMAZING. I'm definitely going to try this one, thank you.
As ive not tried it yer, I wondered if it folded flat to post? X X.
Thank you for sharing. X X
The variety in this 'Work and Play' collection is really inspiring.
Post a Comment